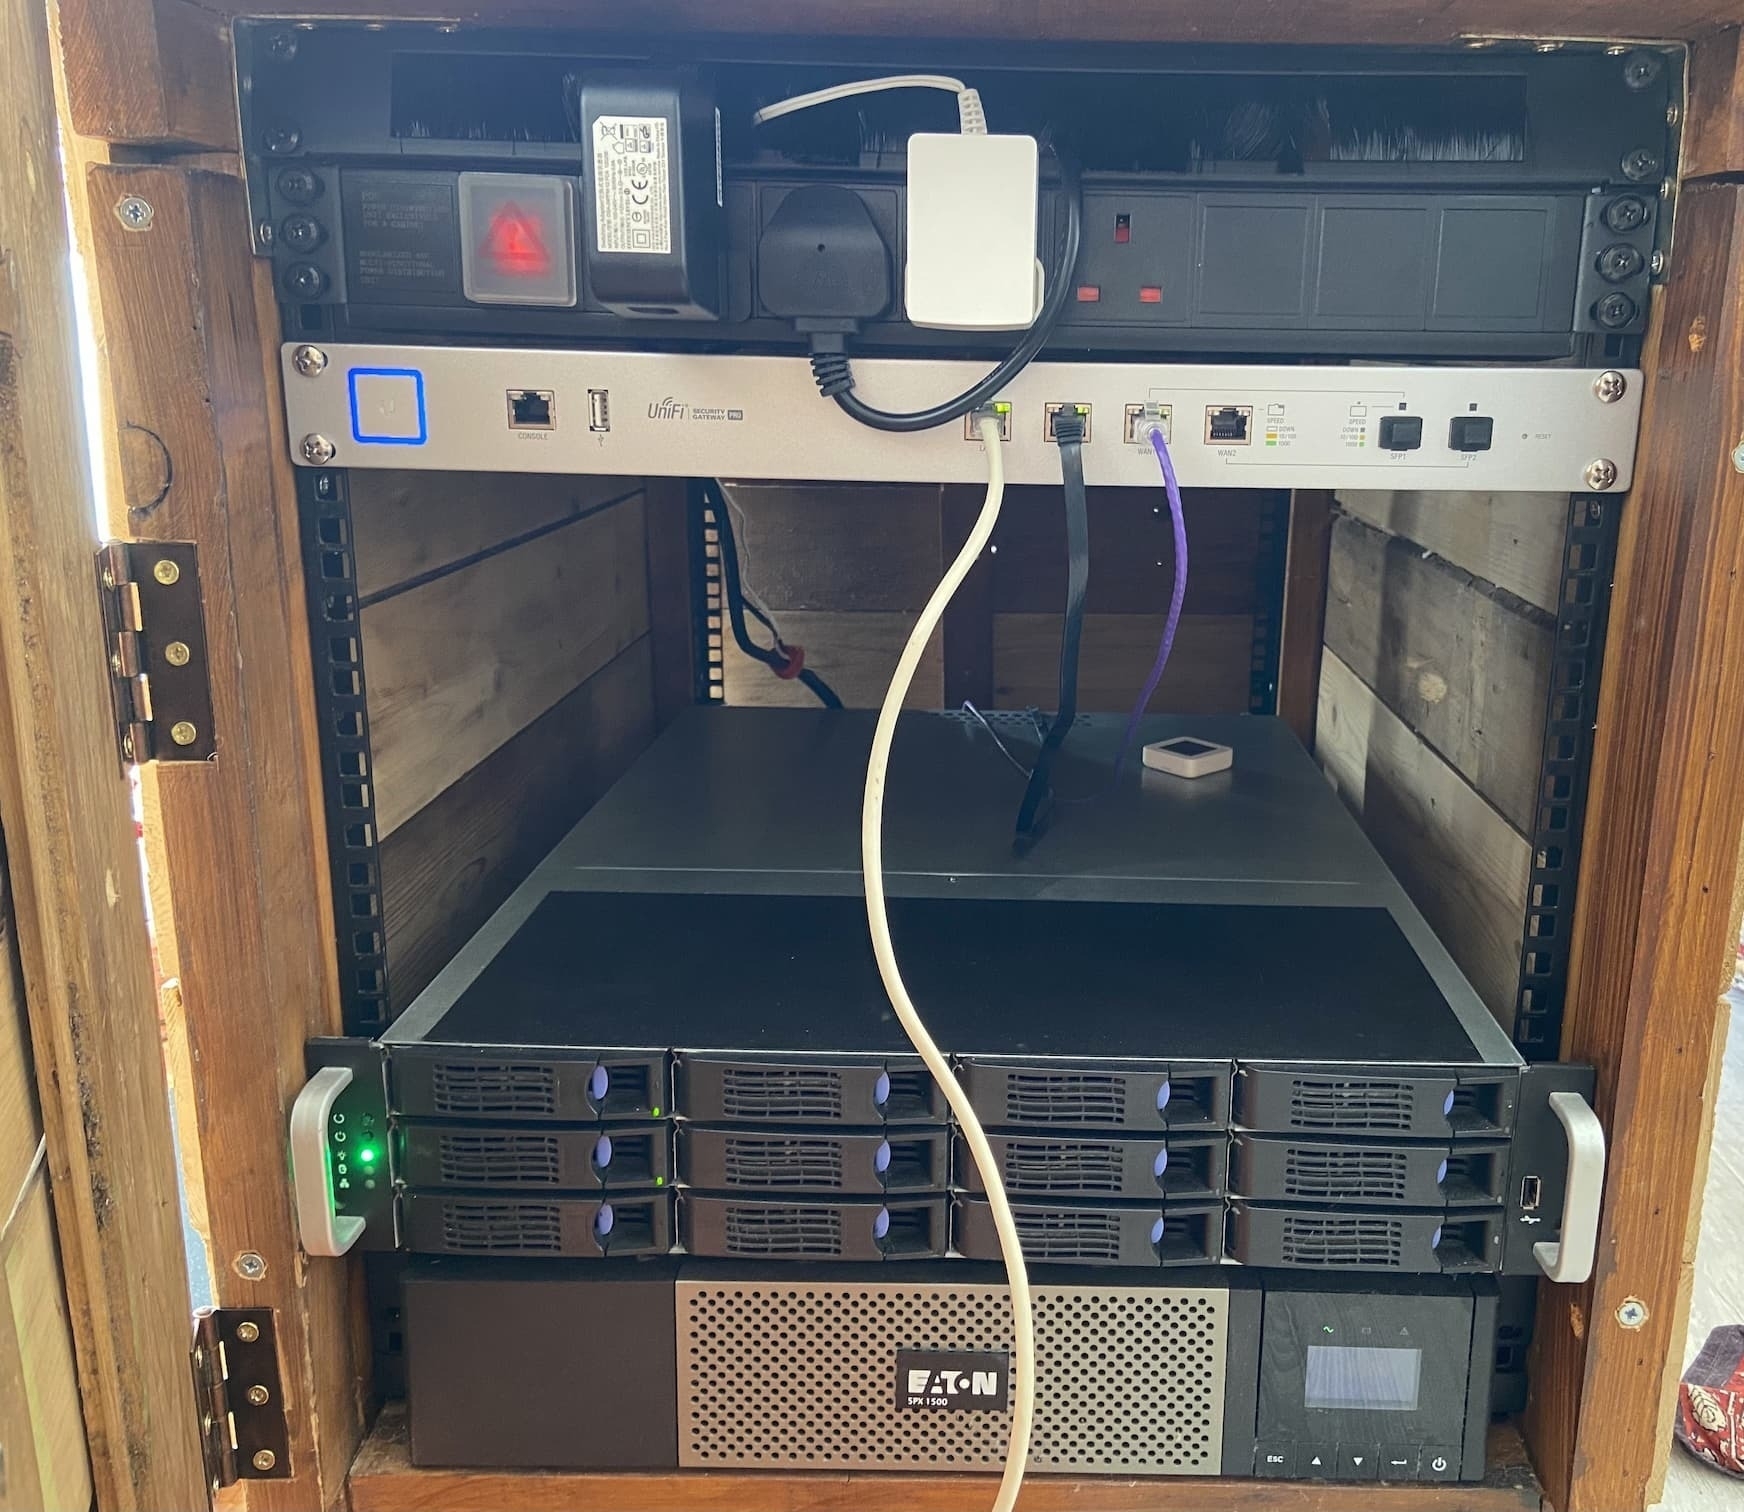
Let's build a DIY Server Cabinet Together!

Now after building a server for self-hosting things, there’s no-where to put it!
Most server cabinets that people can buy online are either way too expensive or way too big ’n’ heavy to ship properly. So, how could I make a cabinet of my own yet still make it functional?
I wanted to avoid the ever-popular LackRack where people buy an Ikea table to use as their server rack, which even comes with a handy instruction manual, as it doesn’t actually have any proper mounting holes. I didn’t like the thought of screwing all this expensive equipment directly into into the particle wood and also not being able to use the sliding rails that come with many server chassis. I was also planning to add a heavy UPS at some point, which also ruled out this option.
I was fortunate to have a lot of spare wood lying around from an old shed that had to be demolished, so I was thinking…
How could I make a server cabinet of my own? And have it be functional? Perhaps even more functional than most server cabinets, which just sit in the corner of a basement and collect dust?
A wild idea appeared!
💡 Make the server cabinet also be a coffee table!
Let’s get going…
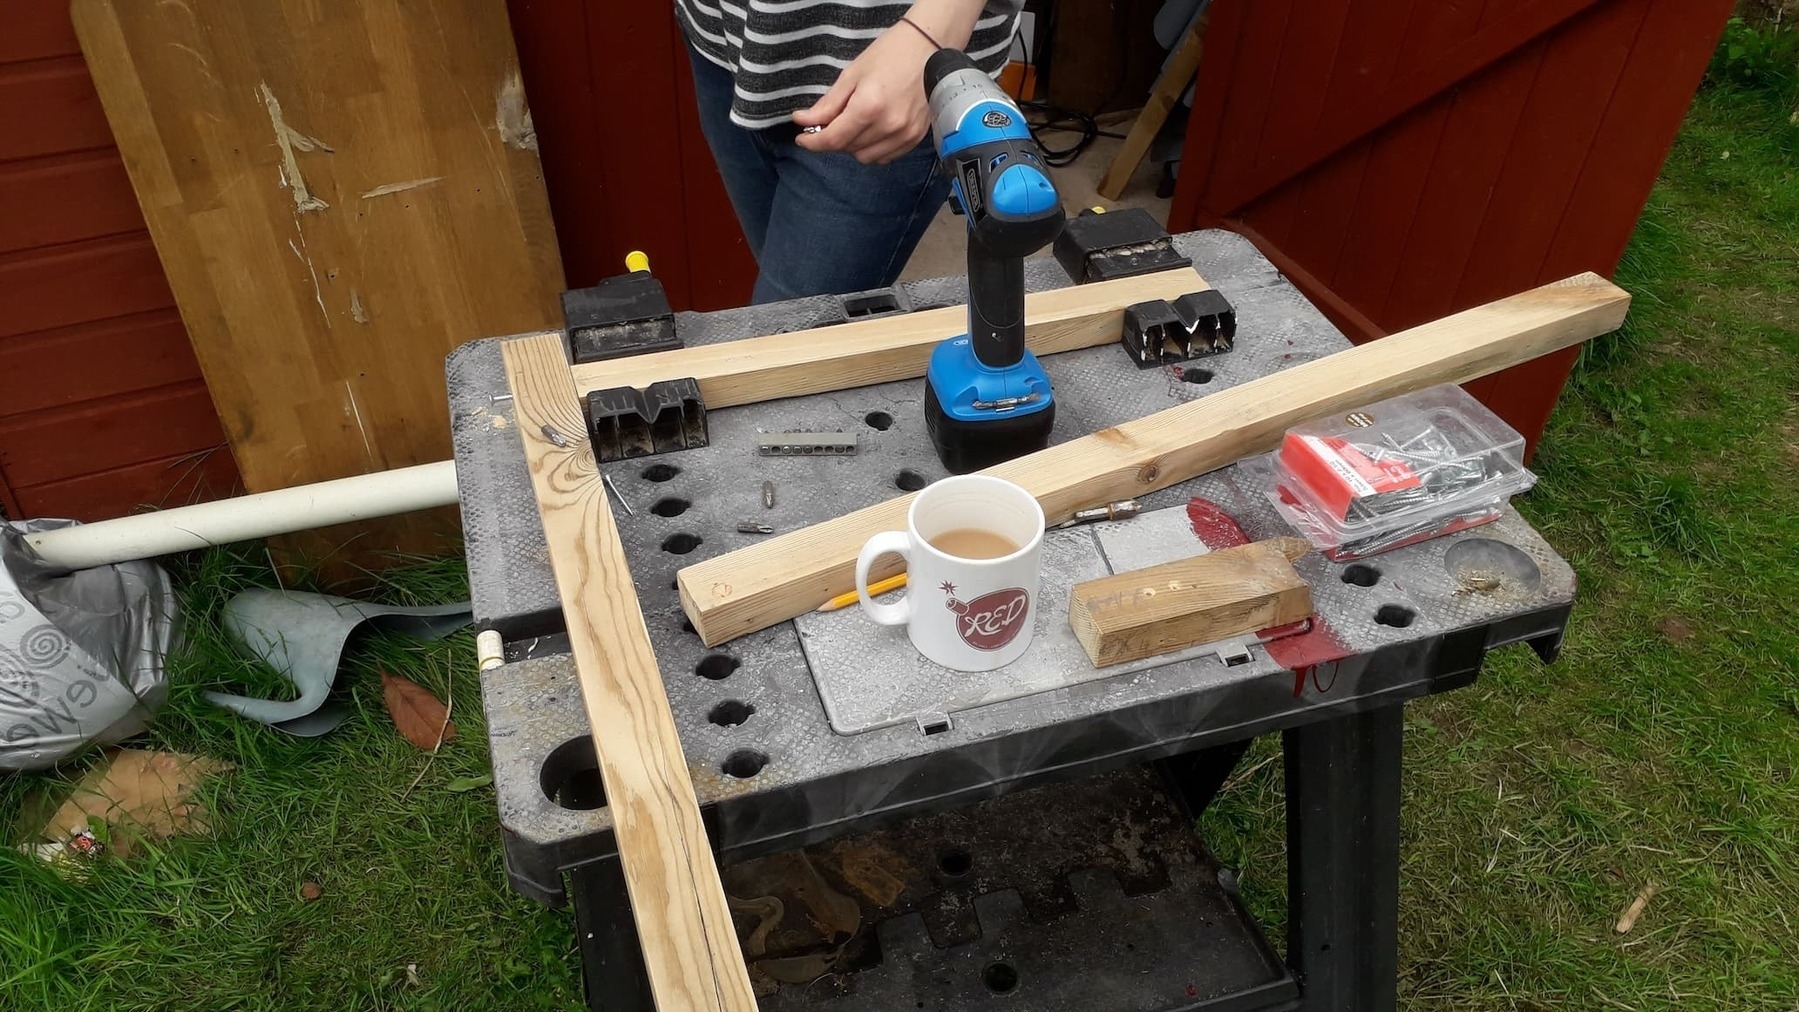
Cut some wood!
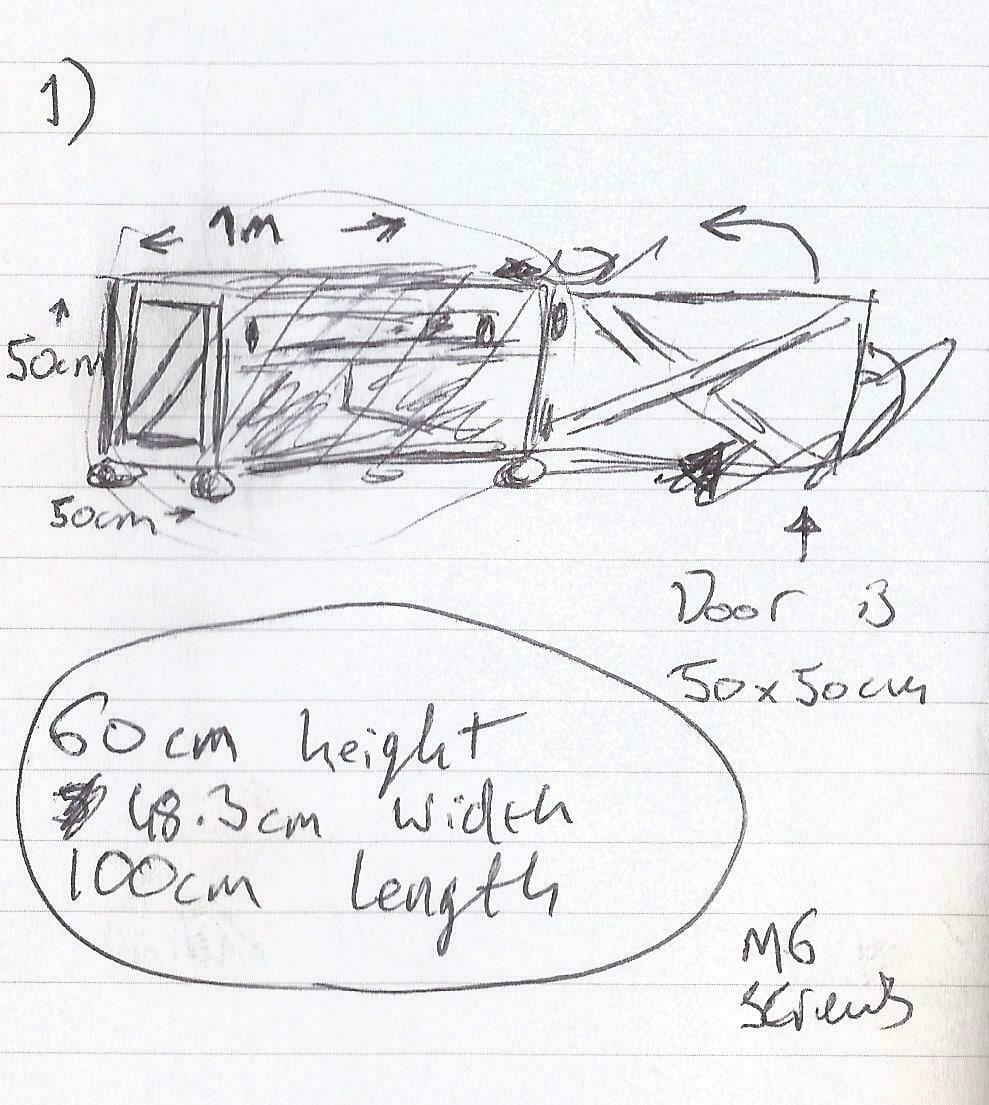
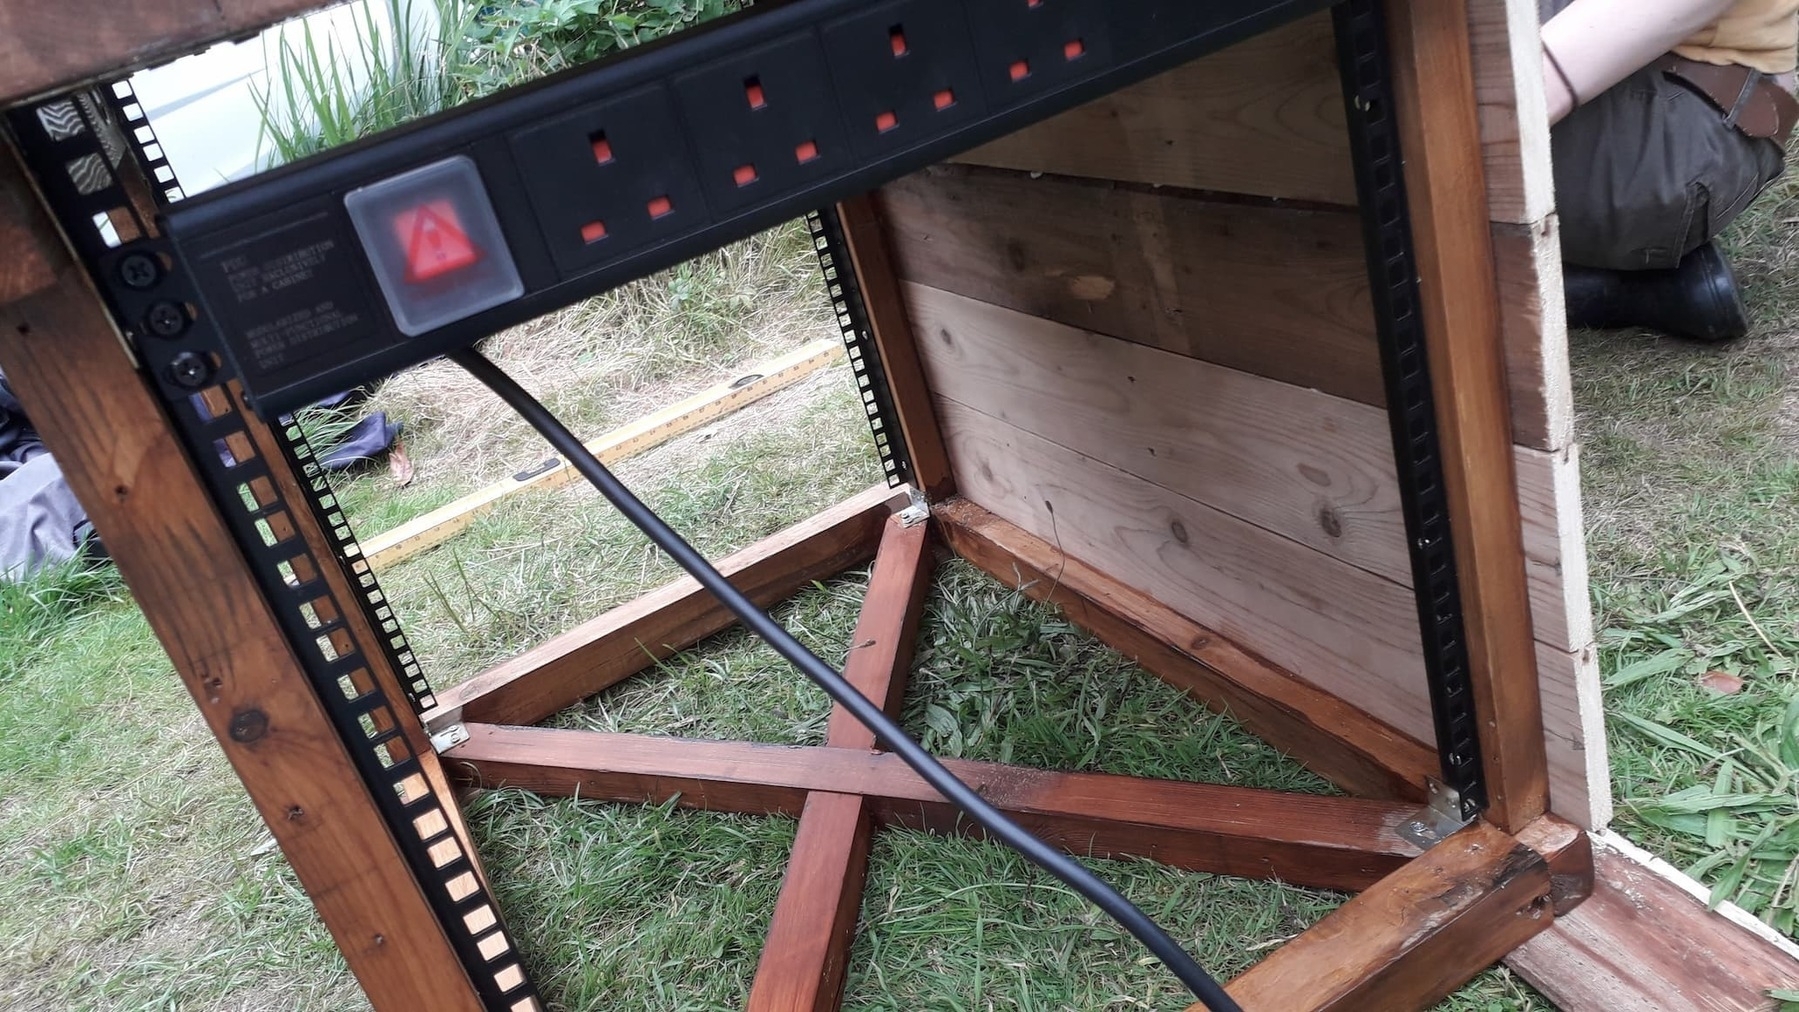
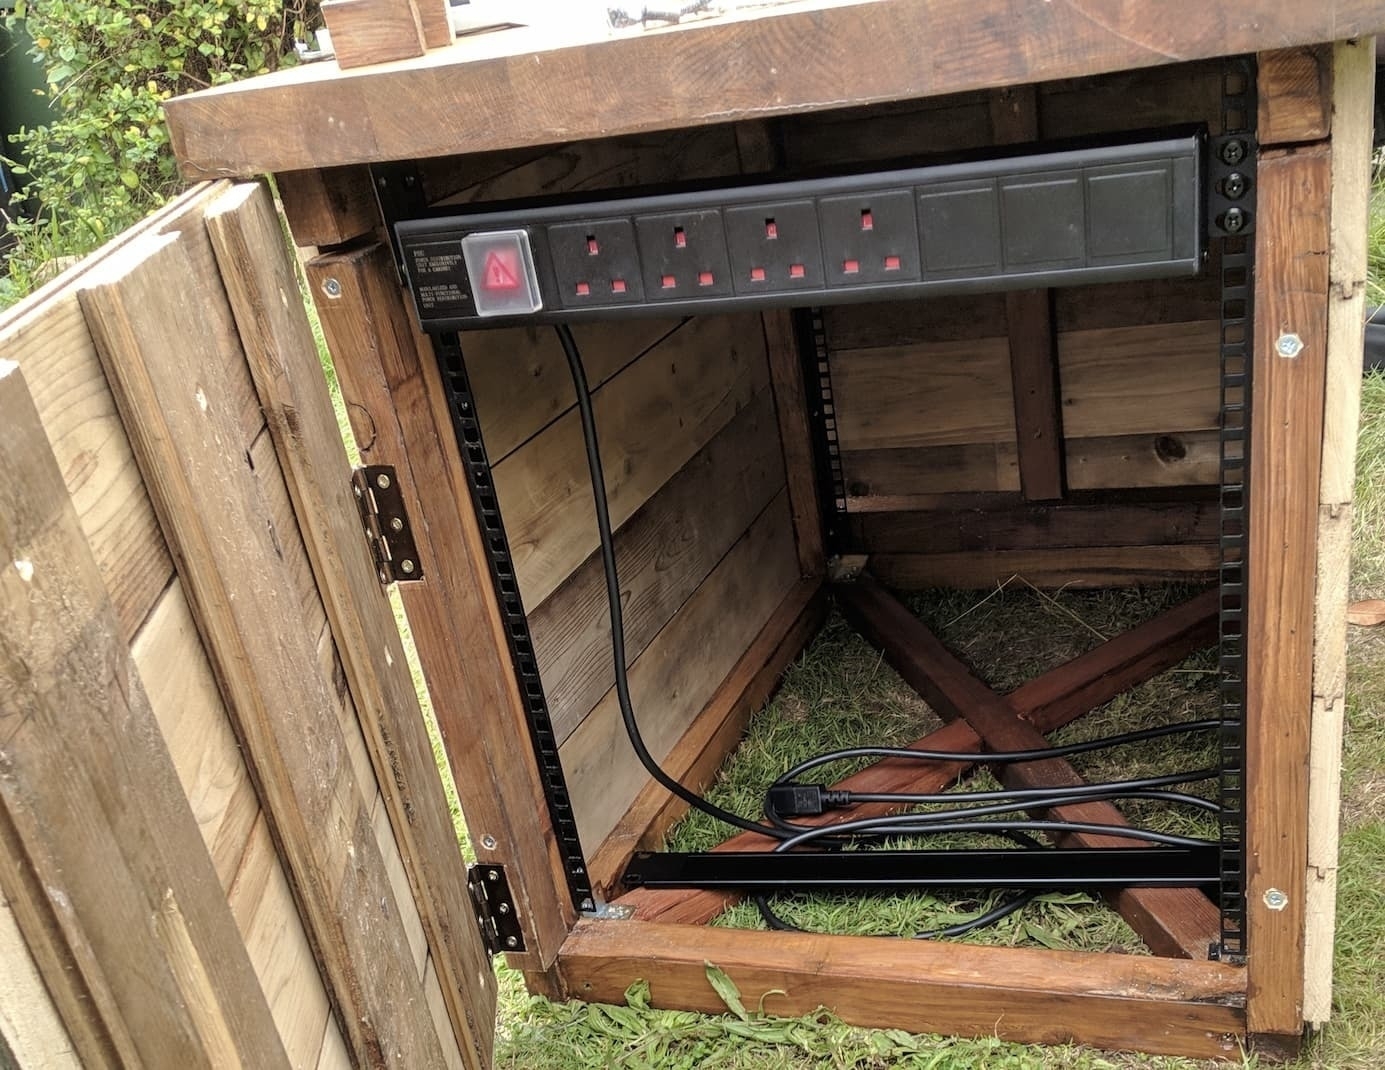
We need to follow a plan, some kind of plan, but a plan! One thing that would be incredibly useful is a hinged door at the front, as a lot of server cabinets have glass front doors. Another useful addition would be a removable panel at the back for moving cables around and managing things easier.
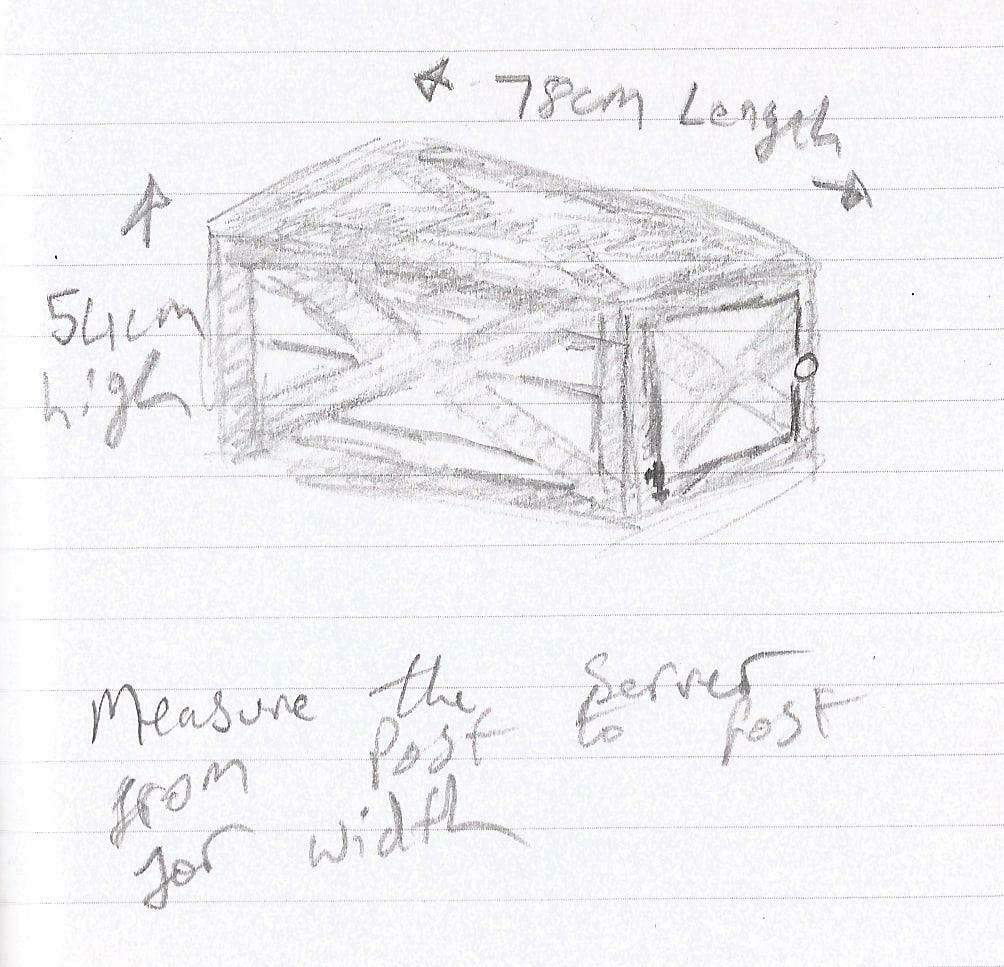
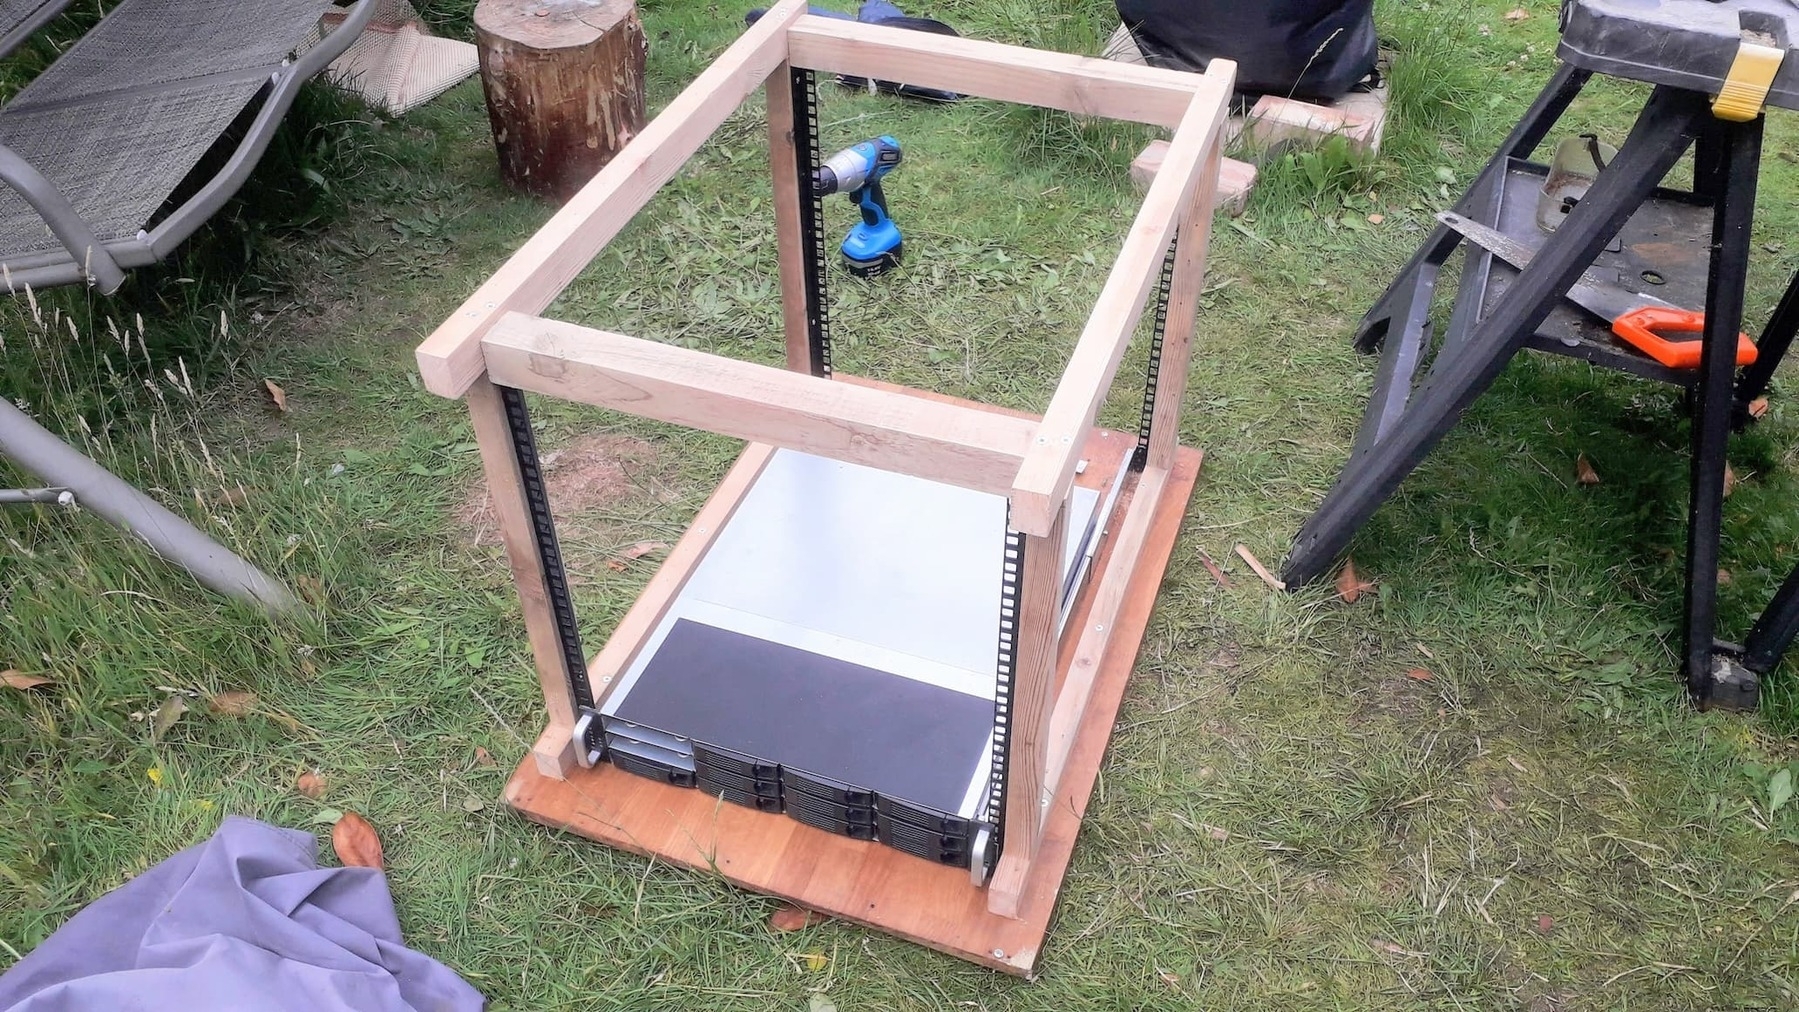
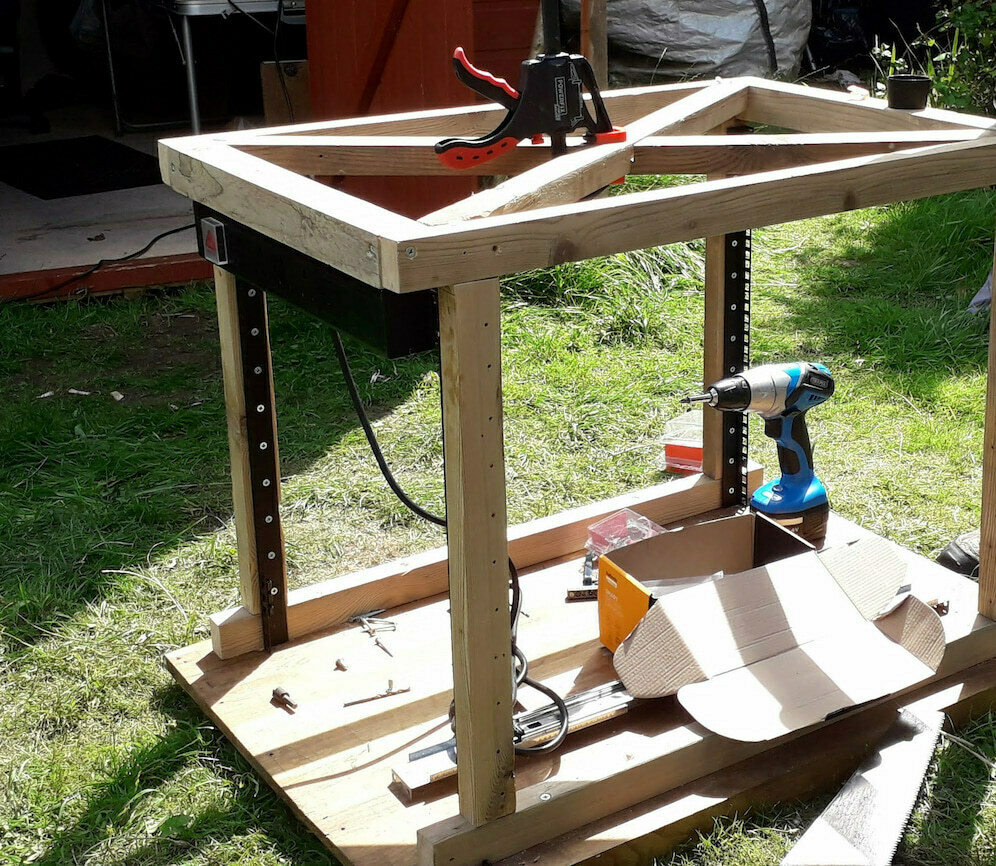
Next we need to look into how we could rack-mount things. Thankfully, I could find a set of 12U server mounting strips online, which would mean that my cabinet’s internal height would be roughly 53.34cm. The next part was also to start constructing the basic frame out of sticks o’ wood, making a rough ‘O’ shape for each side.
Most of this project was just finding things that were lying around and using those. For example, we used No. 10 x 2-1/2" 5mm x 60mm Woodscrews and No. 8 x 1-1/4" 4mm x 30mm Woodscrews. Why? They were lying around and they worked!

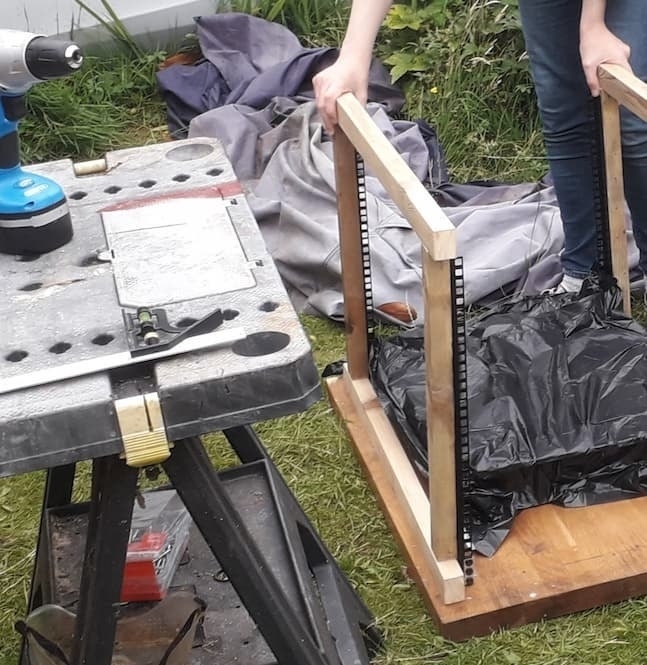
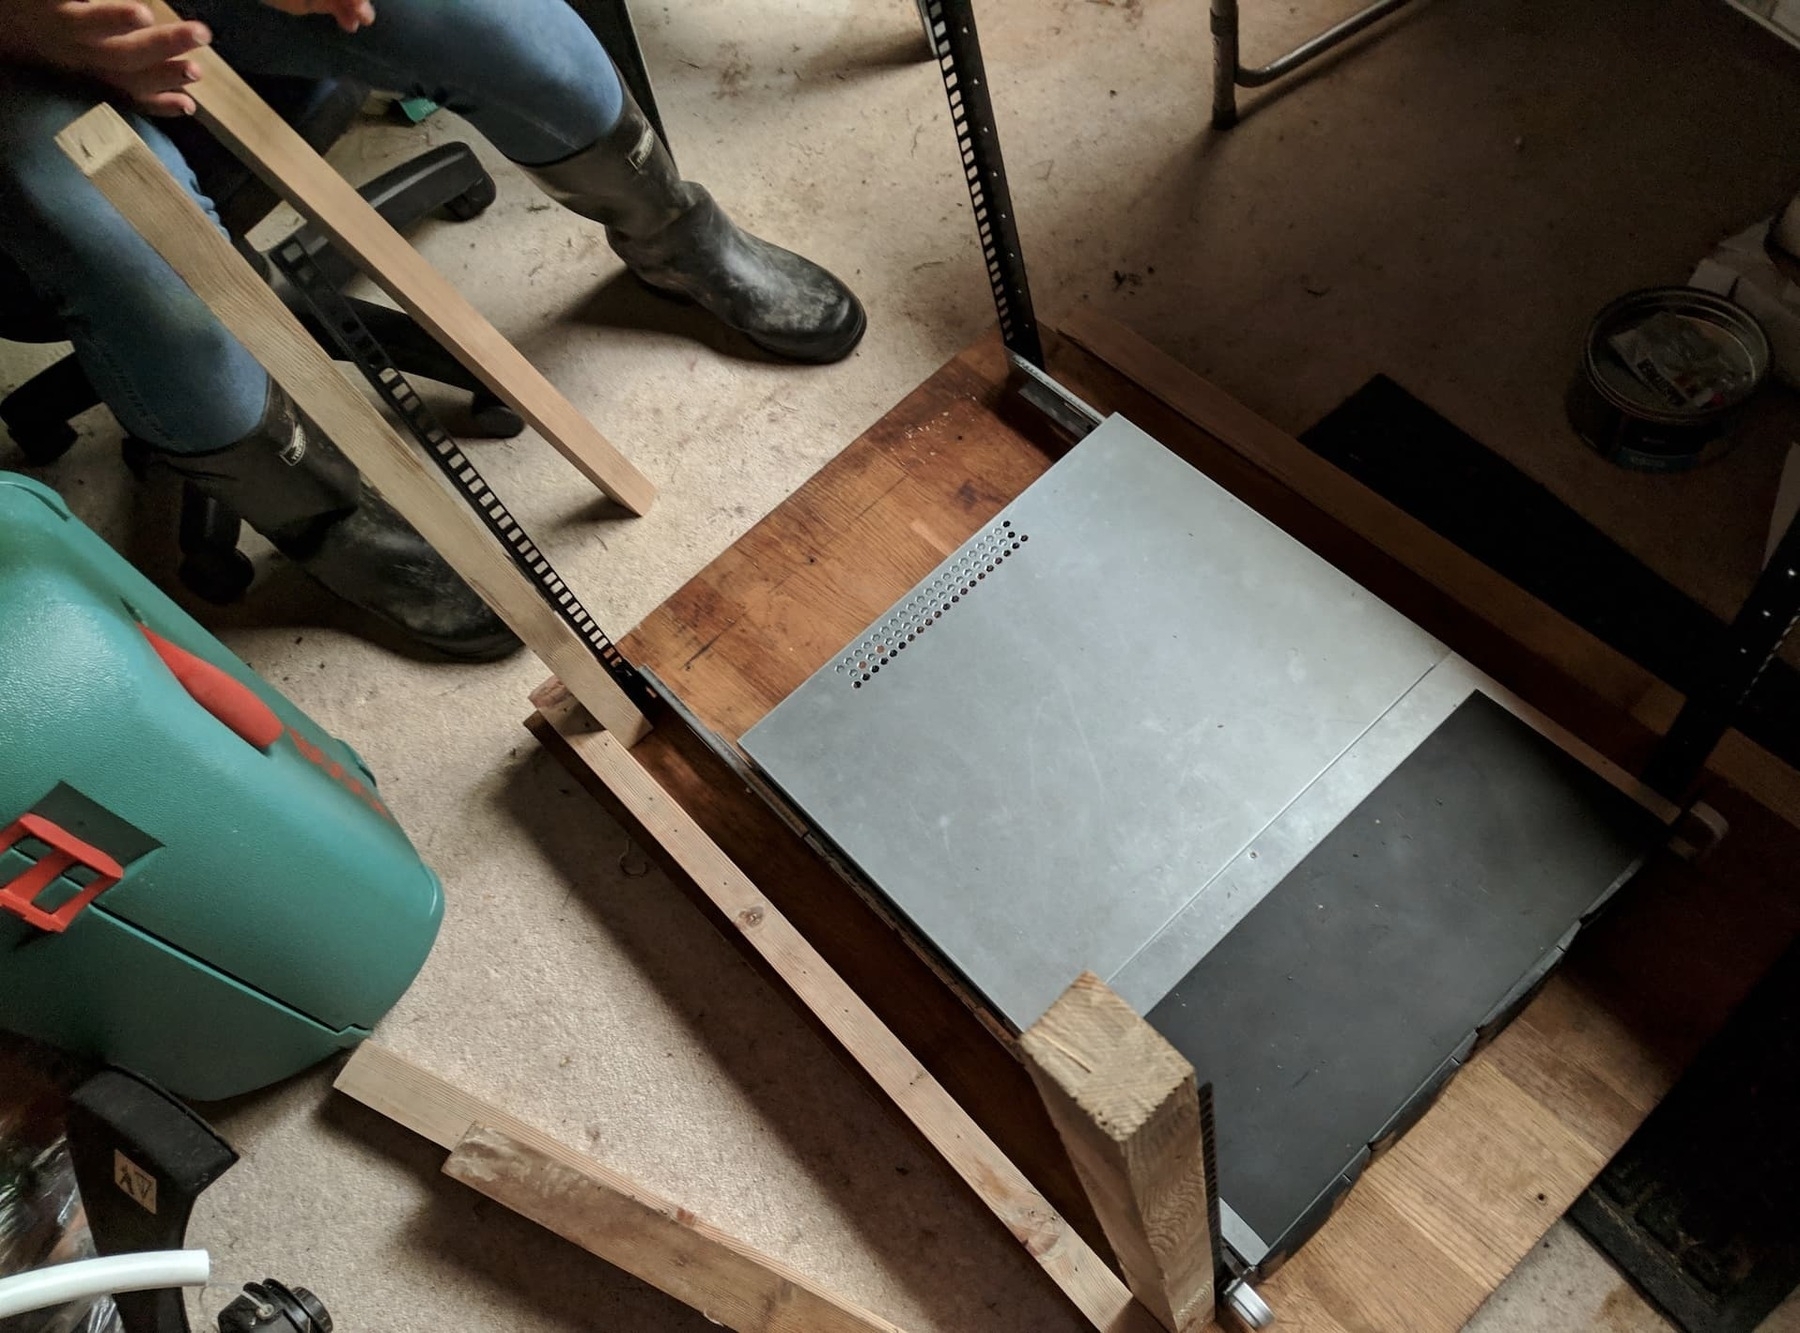
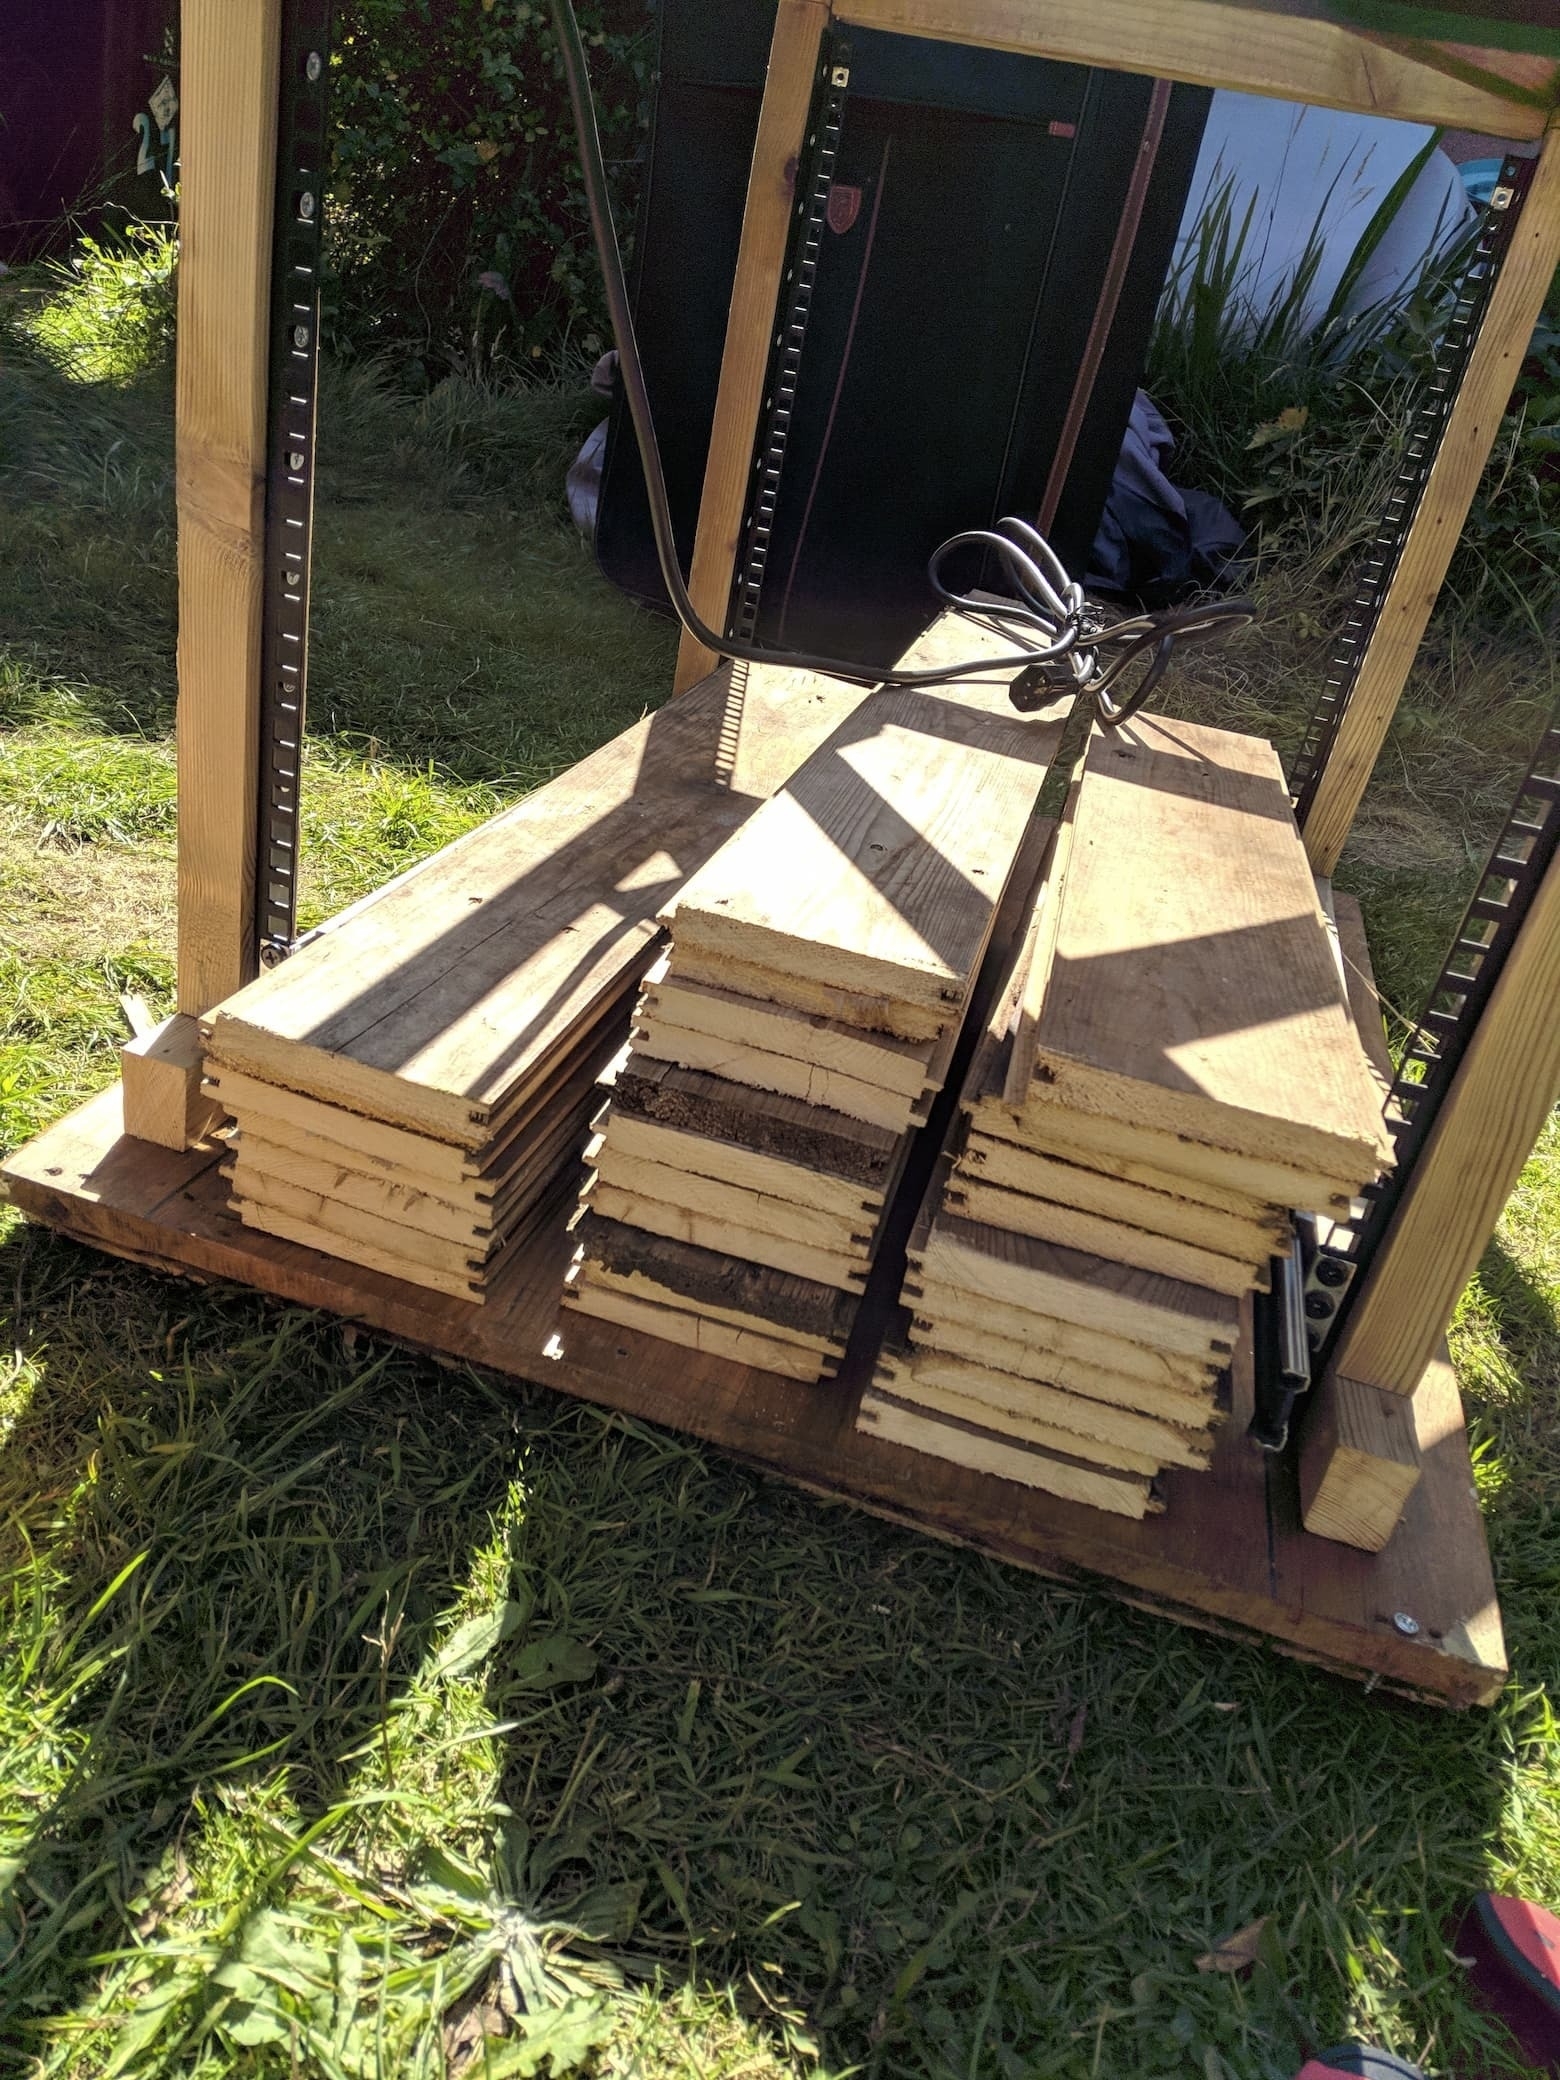
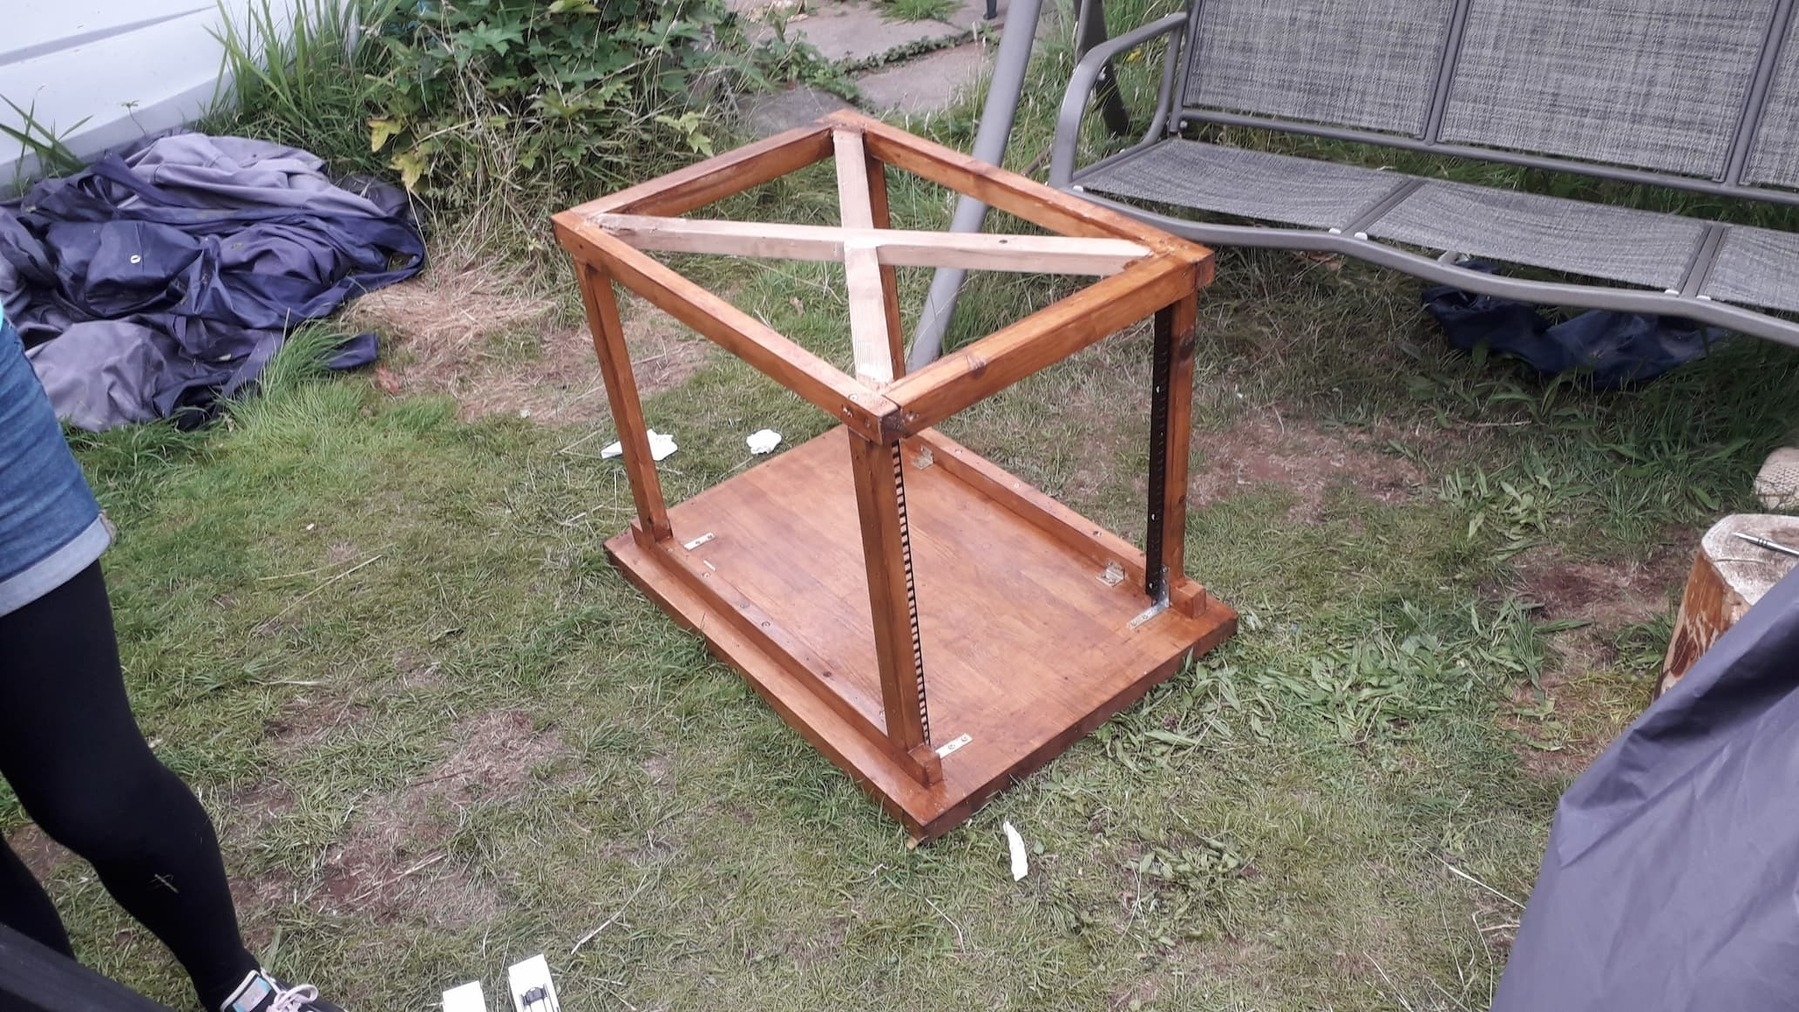
Frame done, let’s start planking!
(Note how we’re using the server as a guideline for the exact width needed! Easier and more accurate than measuring by center-widths.)
Next we can start measuring things up. I would need two different types of plank. One long length for planking up the sides and another shorter one for planking up the front/rear doors. From this point, it was all sanding, adding screws, hinges and a lot of re-measuring to make sure things went right.
It’s just like LEGO!

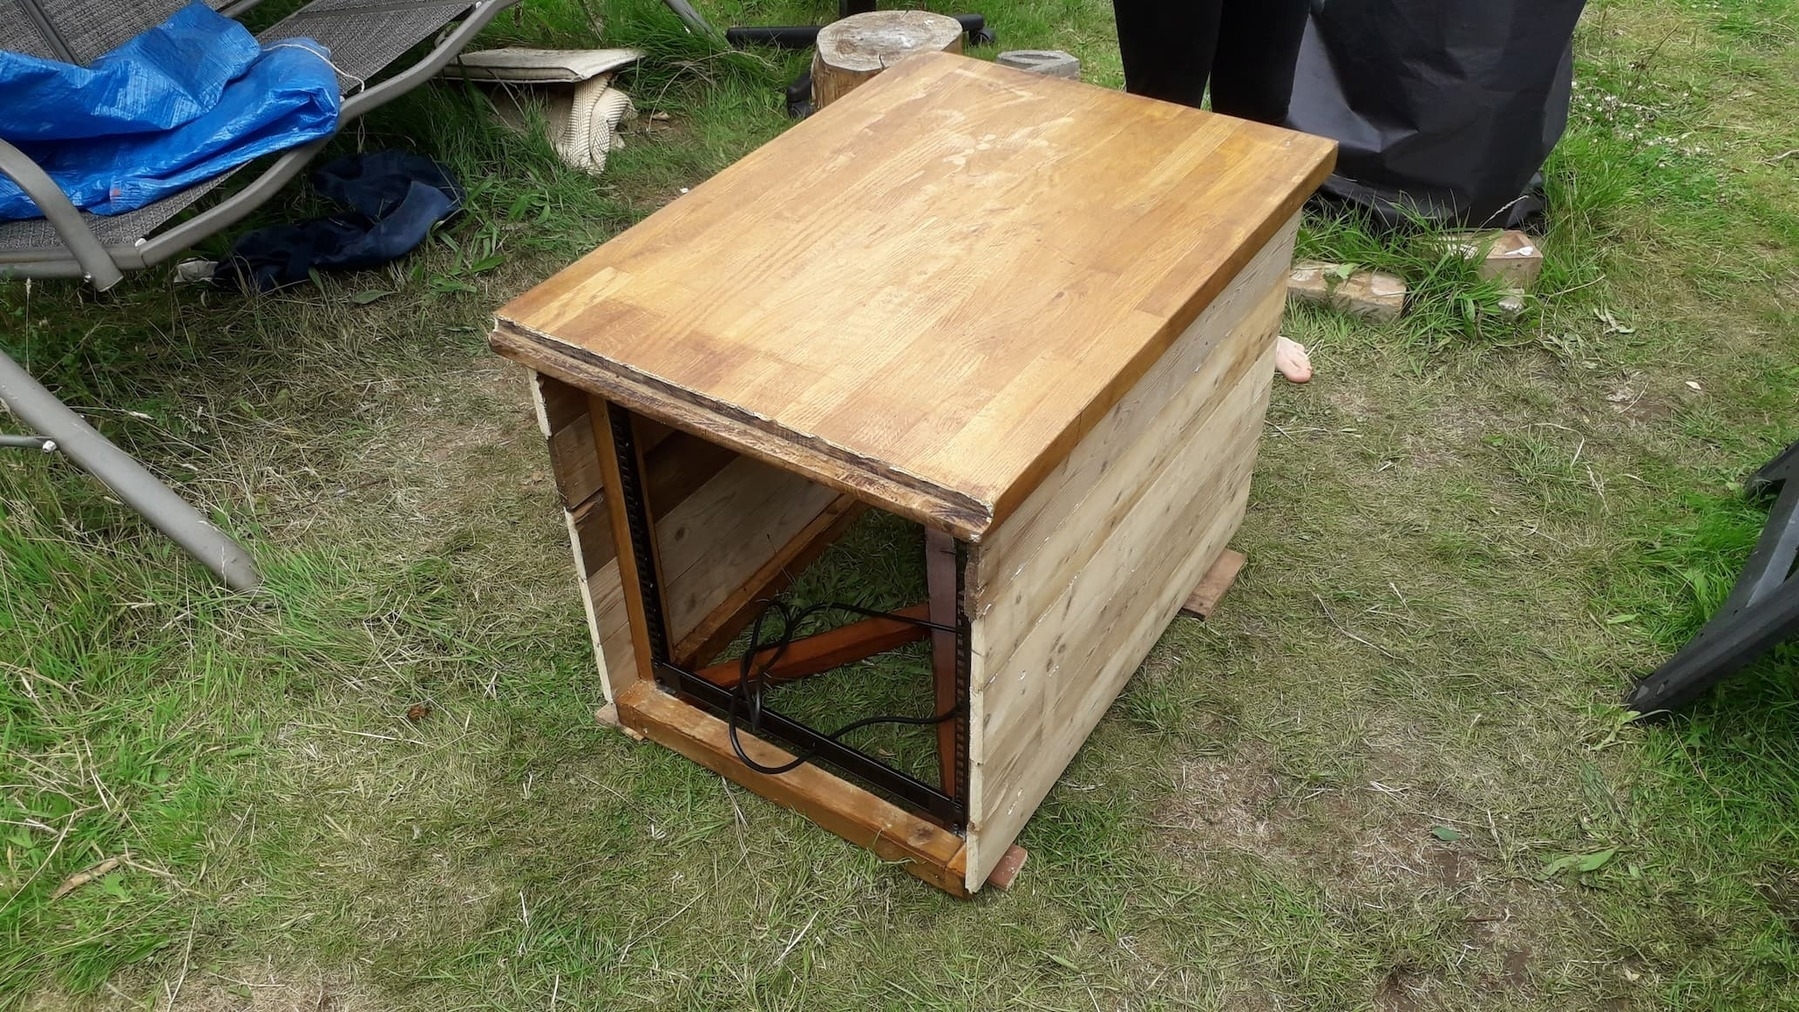

Finally Finished!
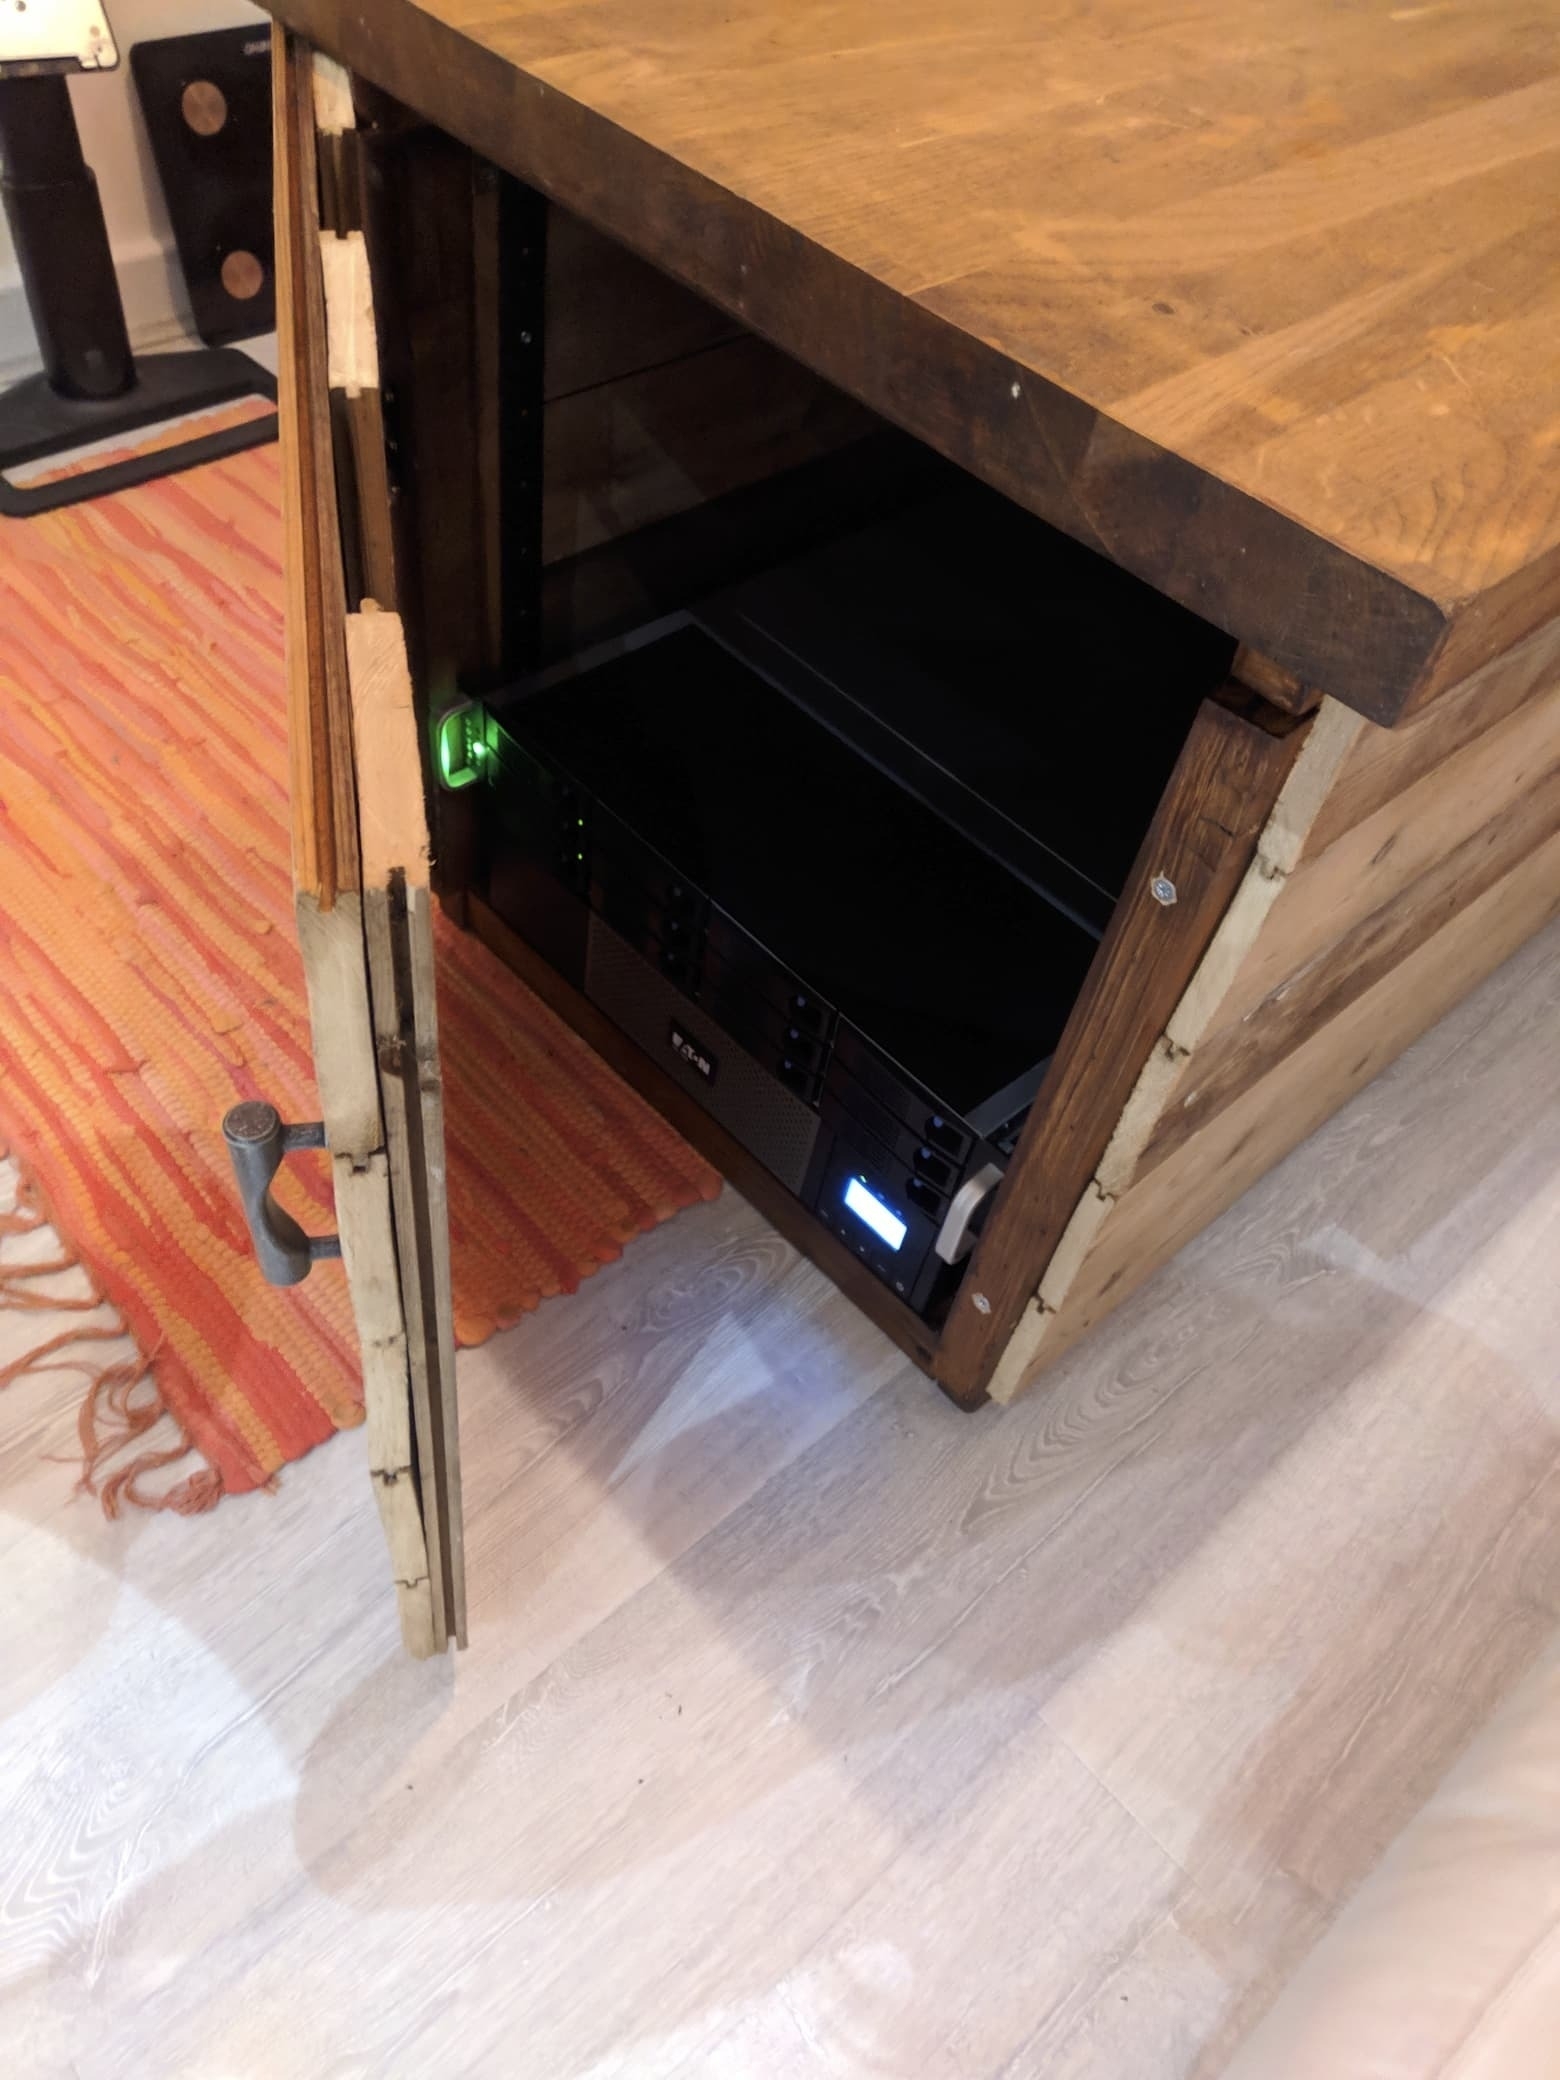
This project was loads of fun and it’s super useful, it’s now in the middle of our living room and sees constant daily use, for multiple purposes! In terms of thermals, everything is pretty alright due to plenty of gaps all over. One thing to keep in mind though, is that noise needs to be kept to a minimum and you might even need to replace some of the fans inside of server components.
And finally, thank you so much for all the help putting this together and sawing so much wood, @cinnabyn!
Would I do it again? Yes!
And 12 months later…