Let's look into Hug, the server running all the things...

Let me tell you the tale of my experiences with home servers (‘Homelab’ equipment).
As I was experimenting within tech, I found that I loved hosting little services and such to make my life easier. From Nextcloud, a cloud storage replacement similar to Google Drive, to a personal VPN with Wireguard, my requirements ended up expanding to the point where I was spending up to £35/month on a rented VPS.
This couldn’t continue! Things were getting too expensive and I didn’t like keeping my NAS storage in the cloud — it was slow. Enter… Hug Server.
And so it begins…
Let’s find a chassis and motherboard!
 I ended up wandering upon an eBay listing for a Sandy Bridge server which was only £70.
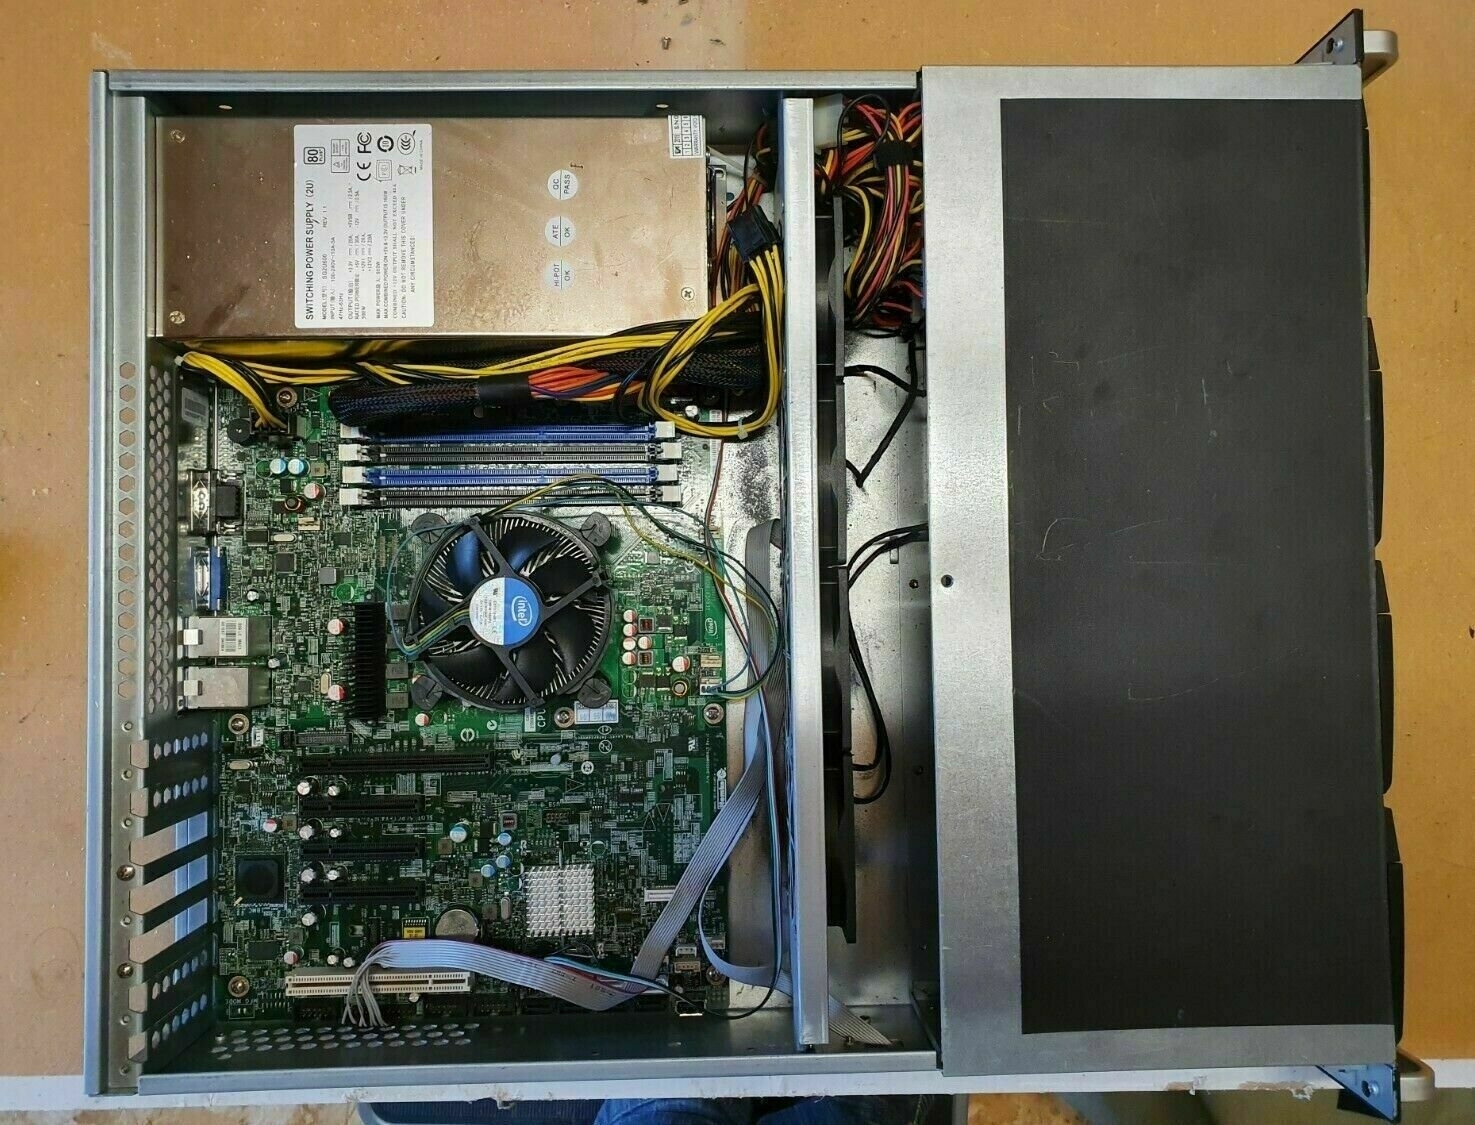
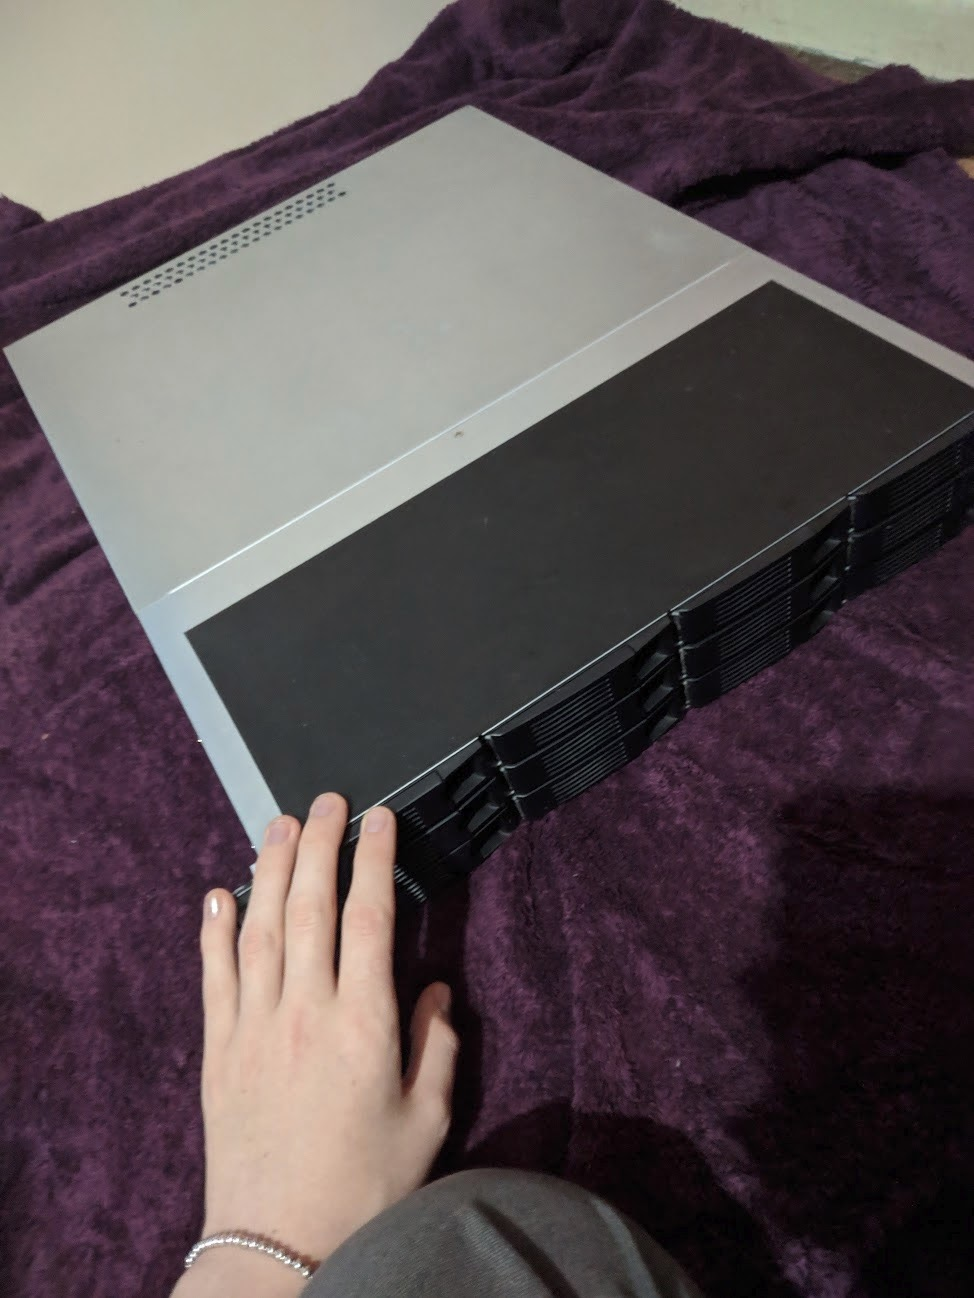
This was awesome! It included an 8-thread Intel Xeon E3-1240 CPU plus an Intel S1200BTL motherboard. The most important part for me, though, was the Ri-Vier RVS2-06A chassis with included rails and a 12-bay hotswappable SAS/SATA backplane. This was perfect for building a custom server within, as there were no OEM or proprietary parts — I could fit any components I’d like because there weren’t any weird form factors to think about. It even used a standard PSU.
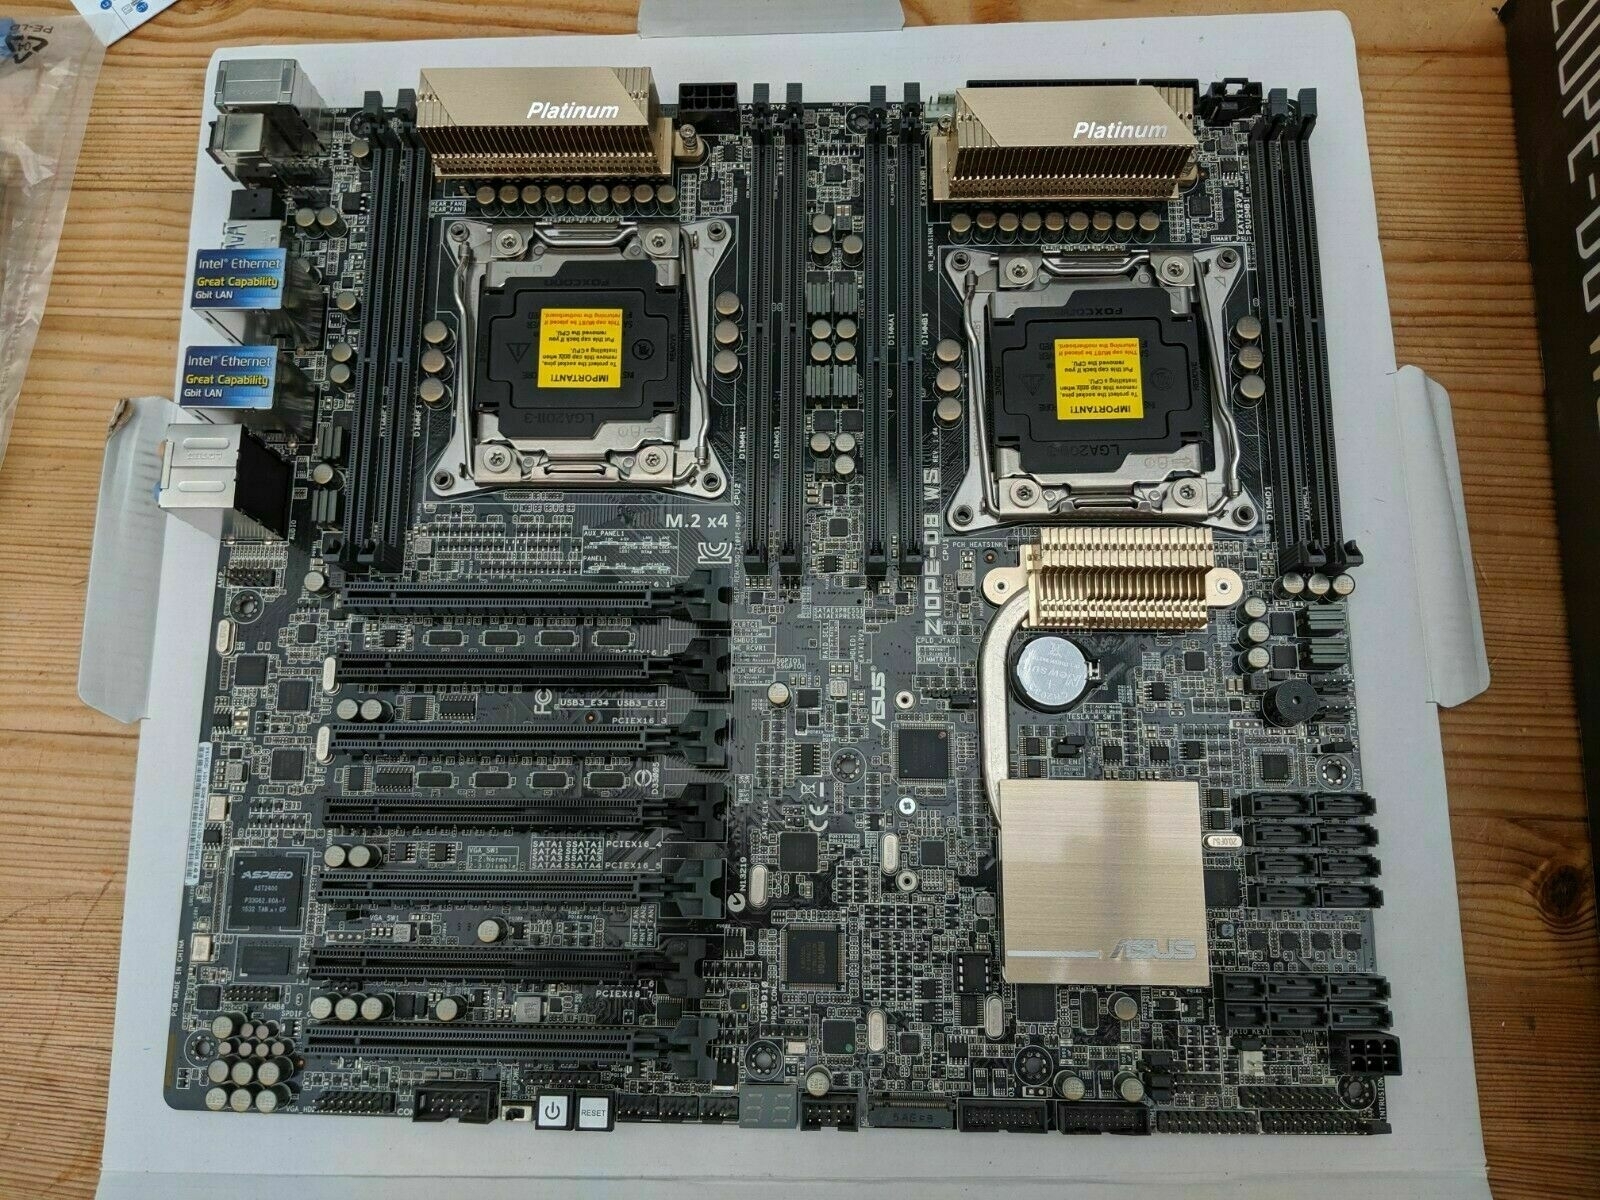
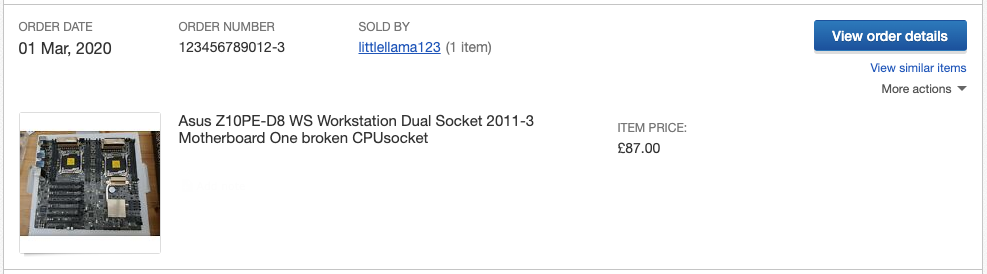
The next part came along when I saw a motherboard that should’ve been worth about £500 at the time, which I bought for only £87. The ASUS Z10PE-D8 WS: a Haswell semi-workstation/server board with seven x16 PCIe lanes. It was so affordable because it ‘had a bent CPU2 socket pin’ and the seller wasn’t sure if the second socket would still work, as they only had one CPU to test with. I tested it myself, there were no issues!
Now to make it smart, to hunt some CPU and memory!
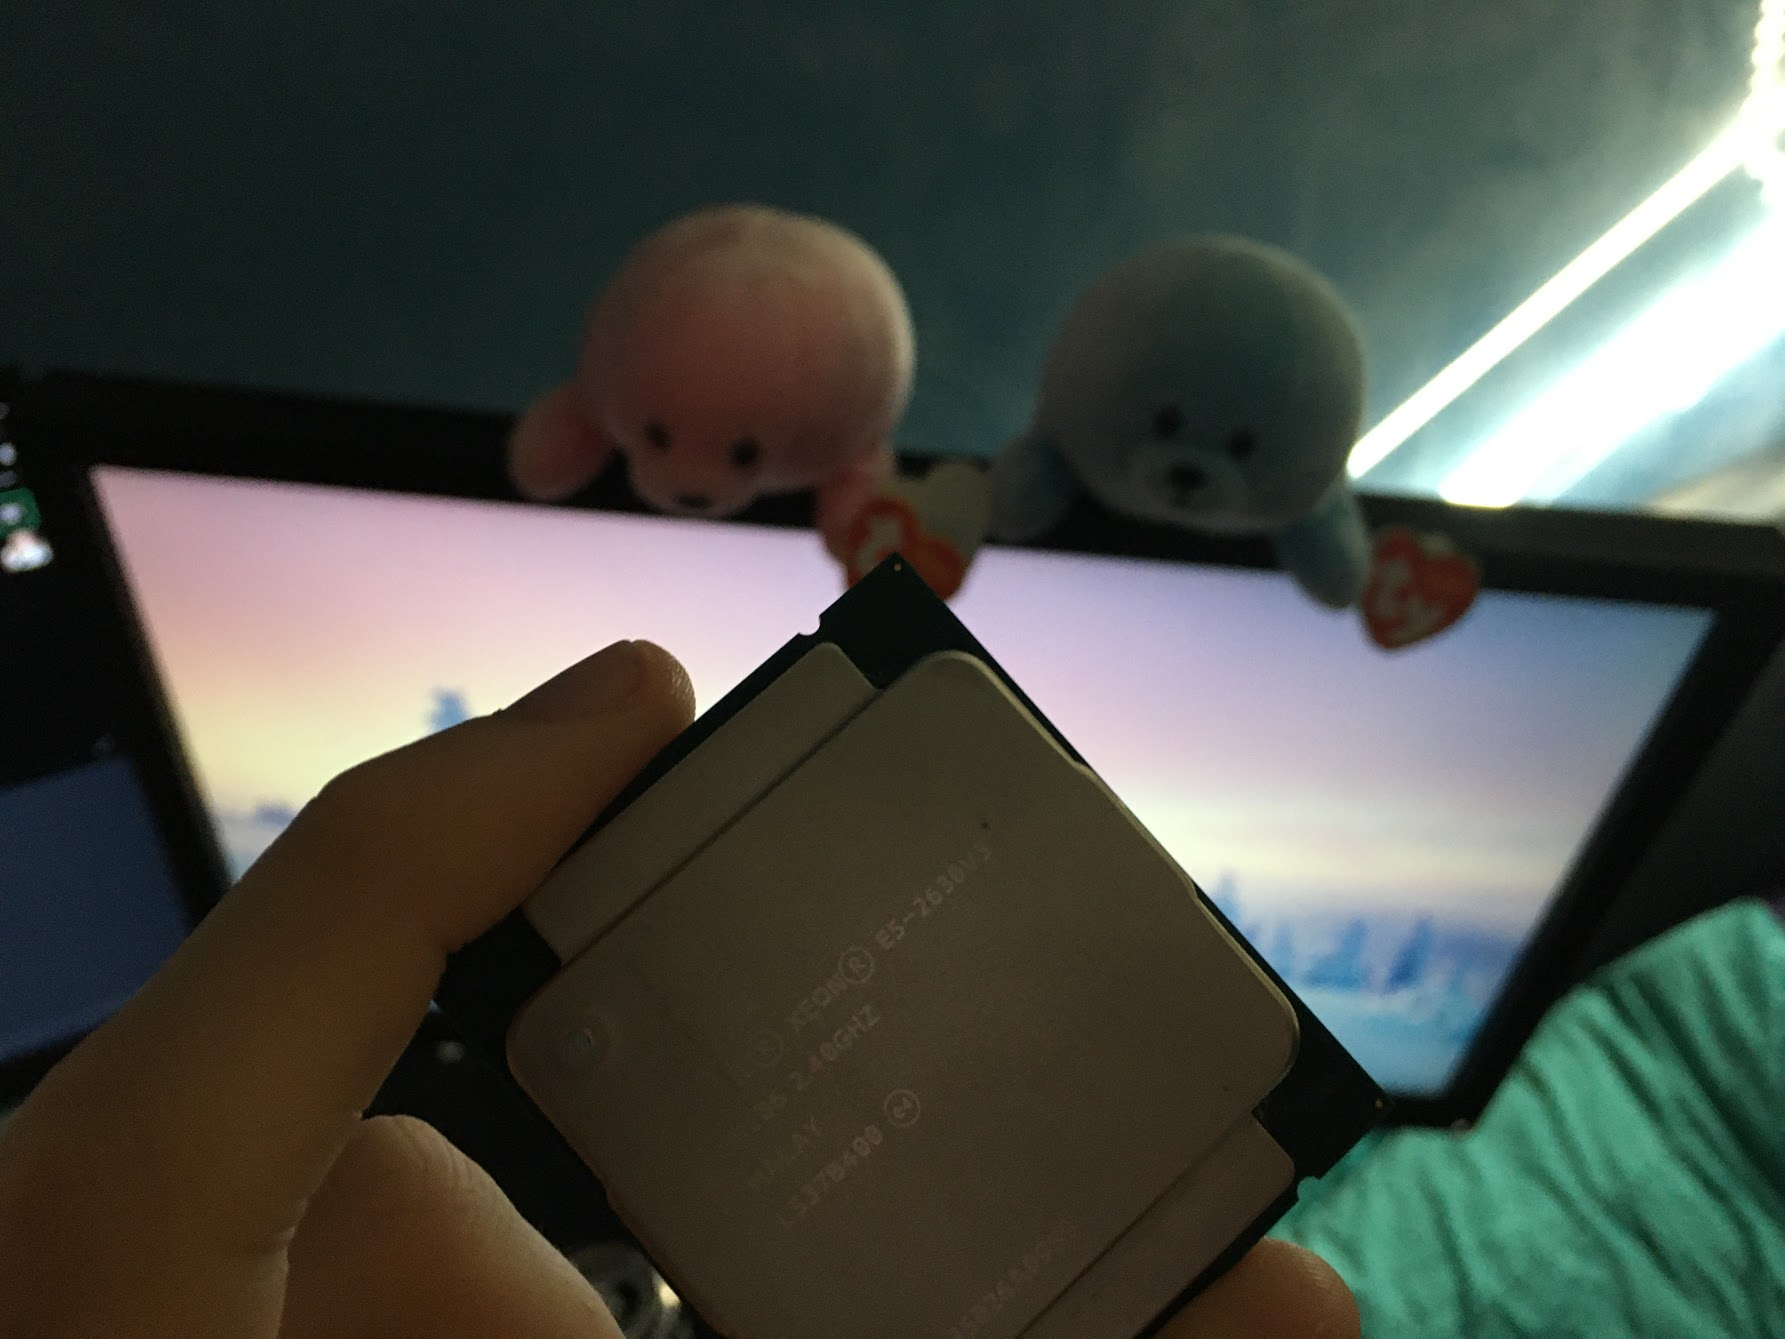
As very few people actually have Haswell server motherboards, the CPUs sell for relatively cheap! I managed to purchase two Intel Xeon E5-2630 v3’s for £30/ea, giving me a total of 32 threads at 2.4–3.2 GHz for £60.
I also didn’t have too much issue finding memory. I found three 16 GB sticks of DDR4 RDIMM ECC for £20/ea (All prices including shipping) which would give me a total of 48 GB which I could easily expand up to 128 GB.
Putting it all together like LEGO
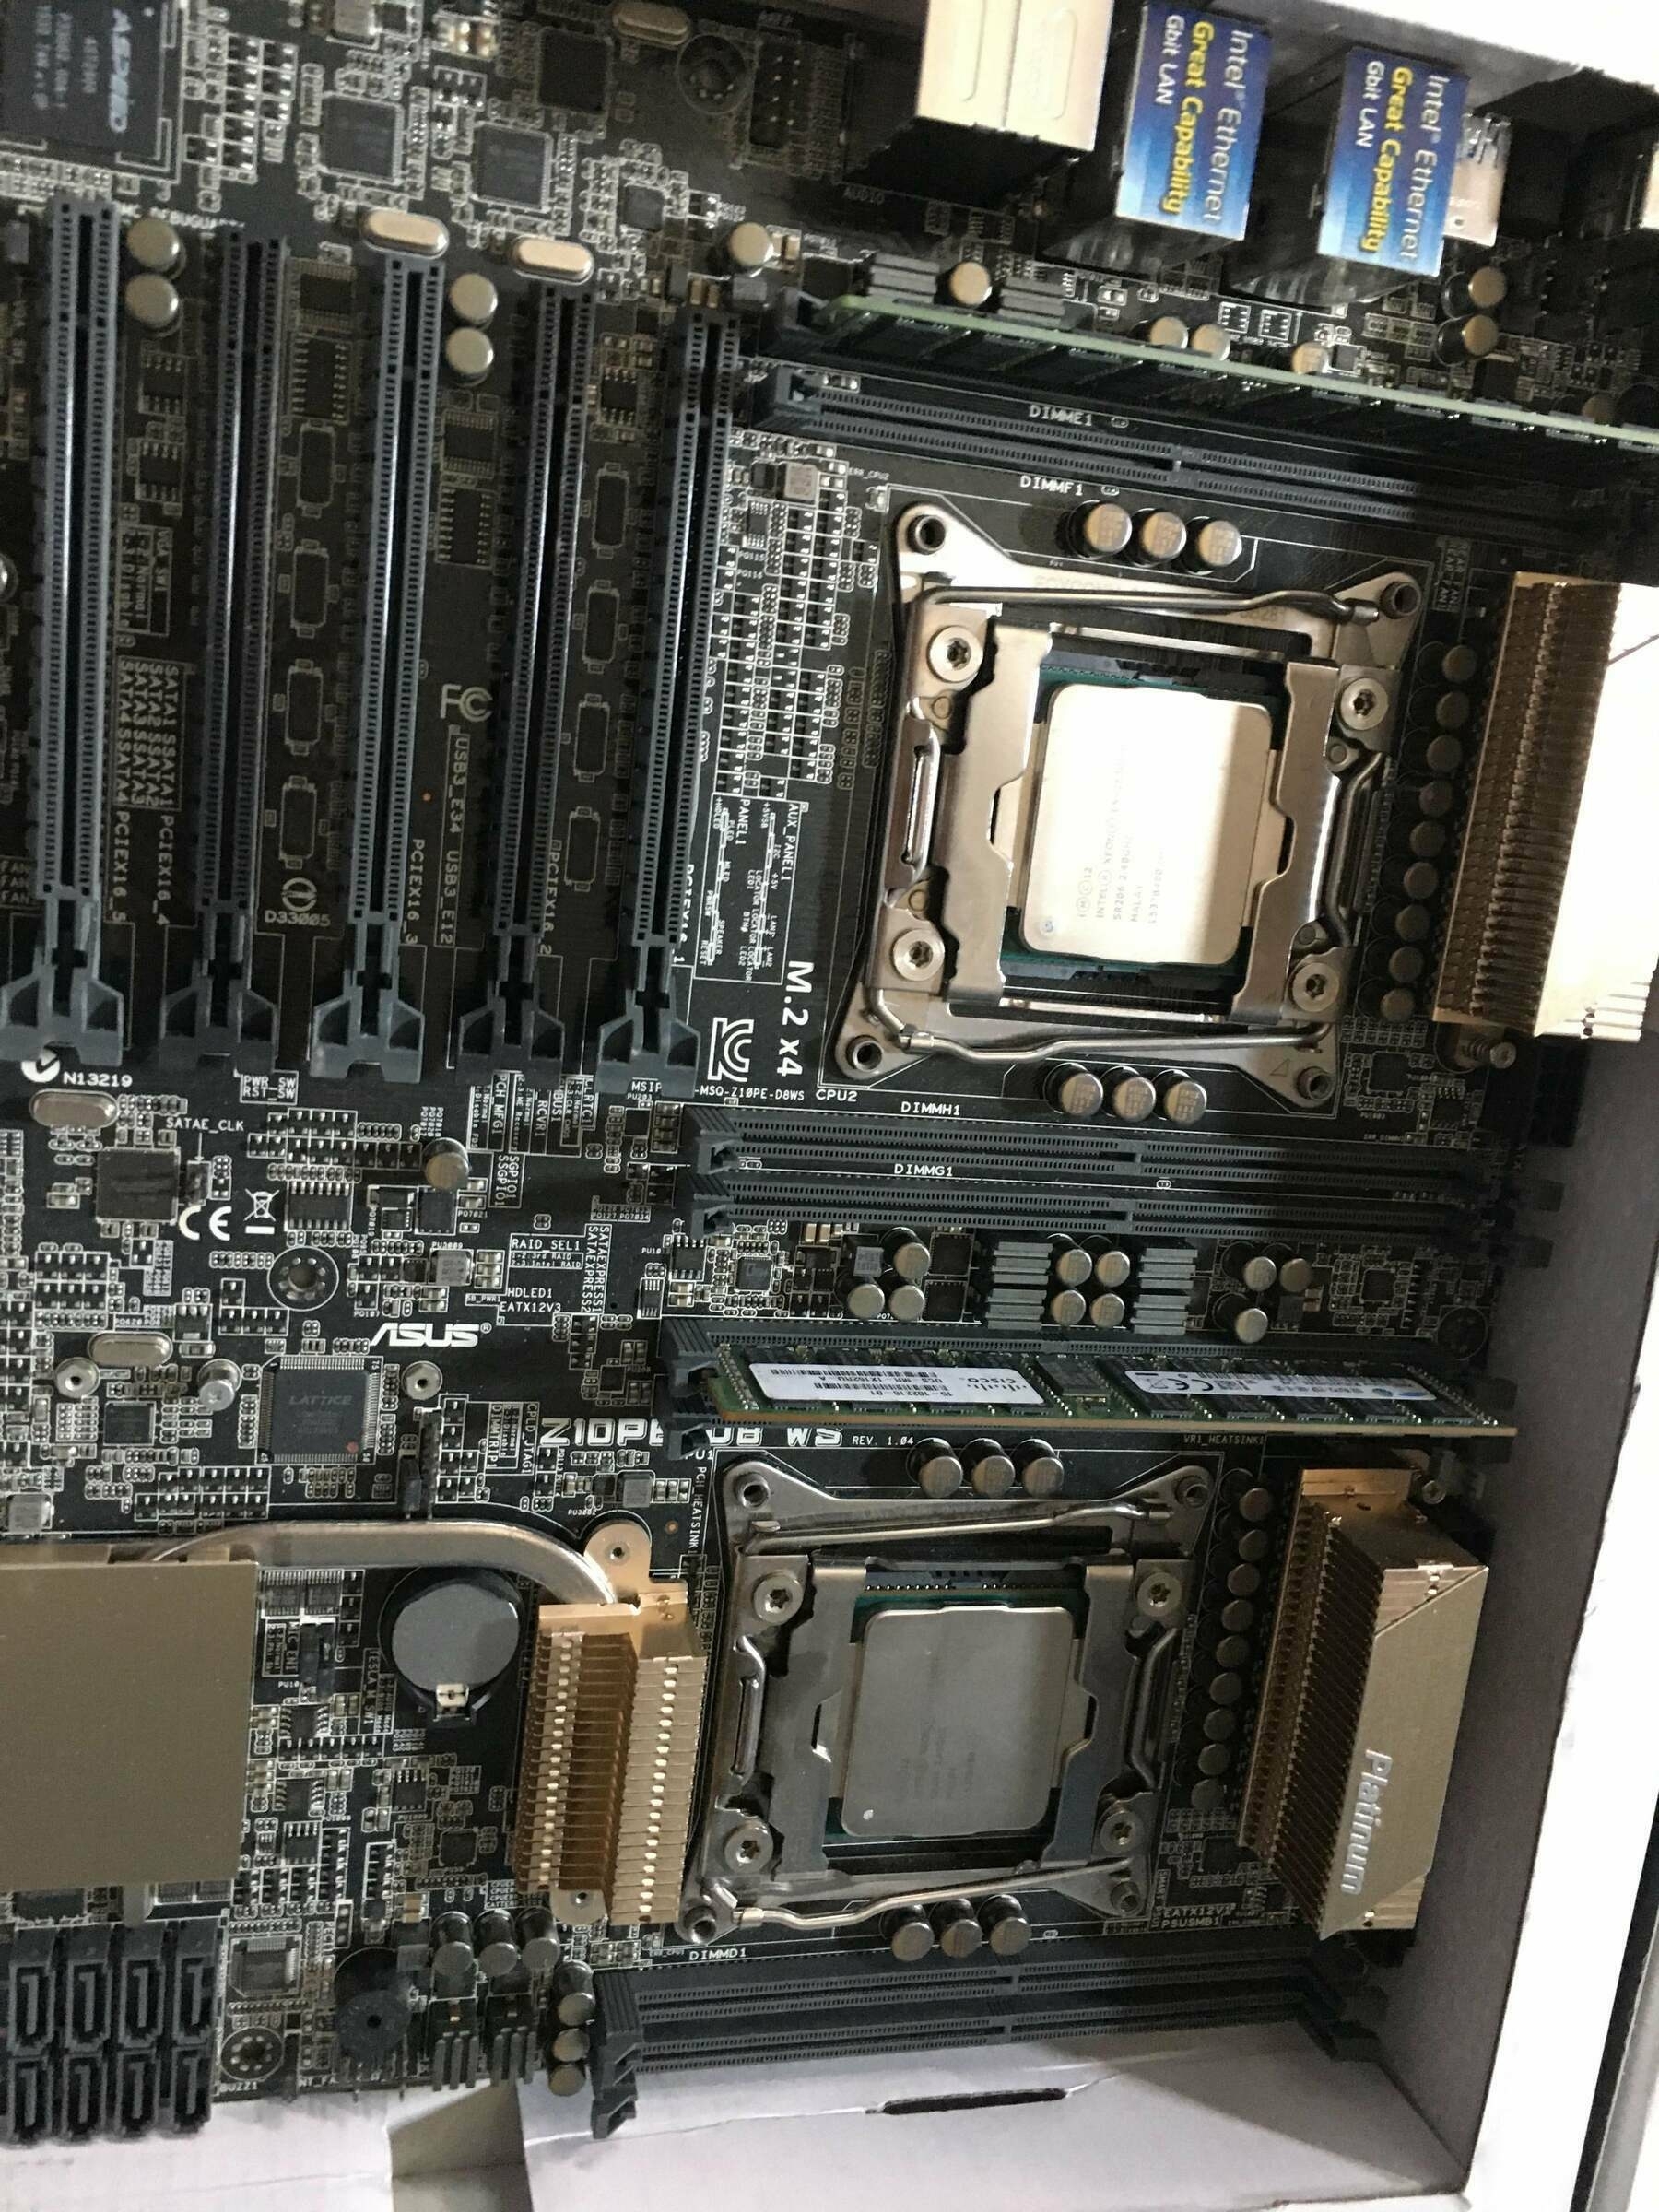
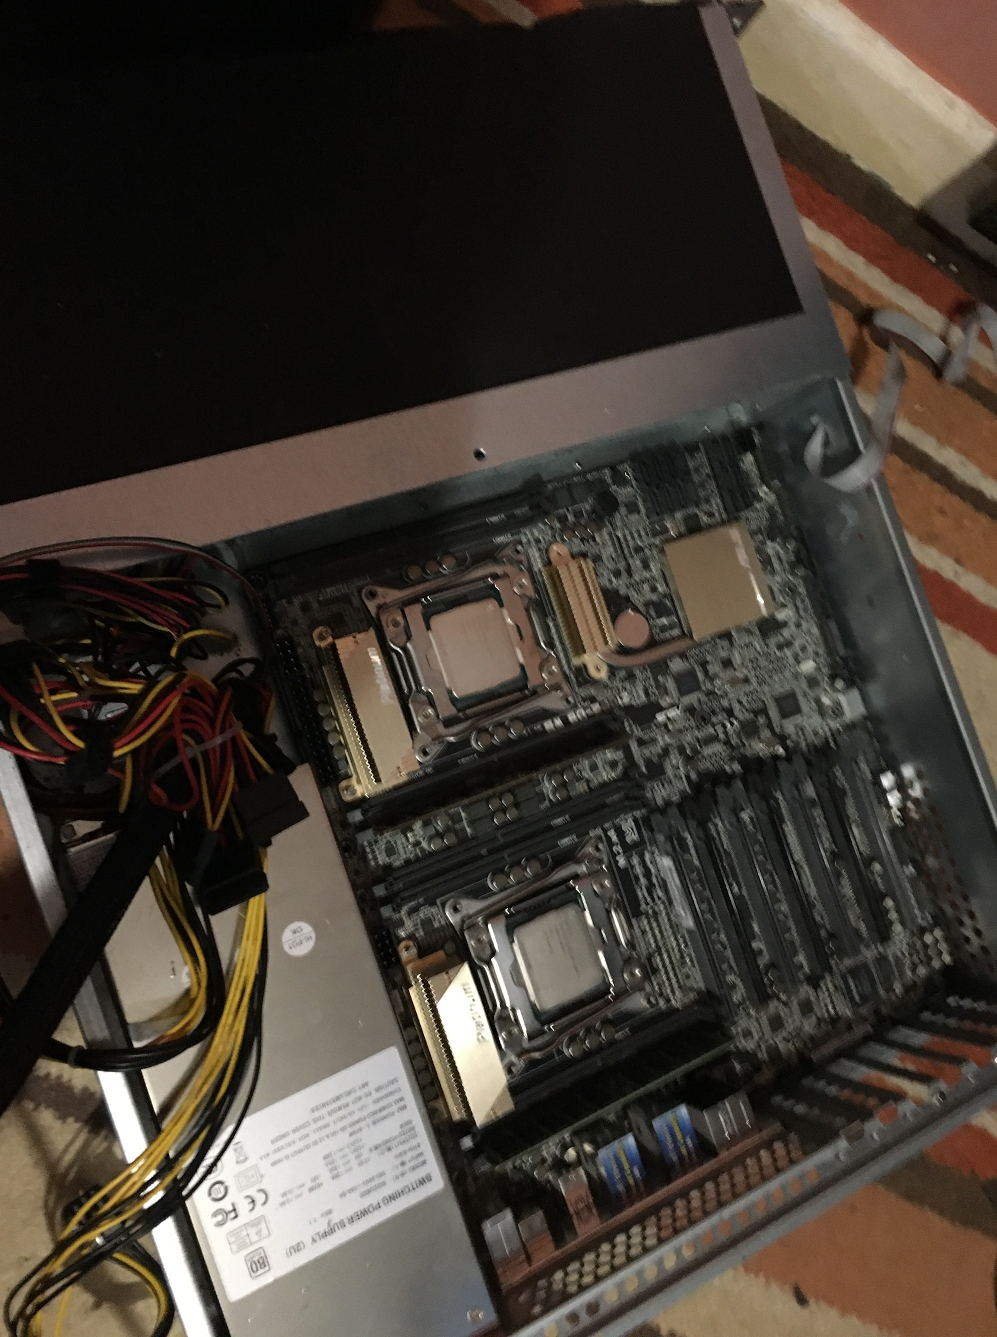
All that was left was to put everything together! Pop the two processors in their socket, install the memory and we’re off to the races! There actually wasn’t any issue with bent CPU pins, everything worked pretty much out of the box. This motherboard also supports IPMI with an addin-module.
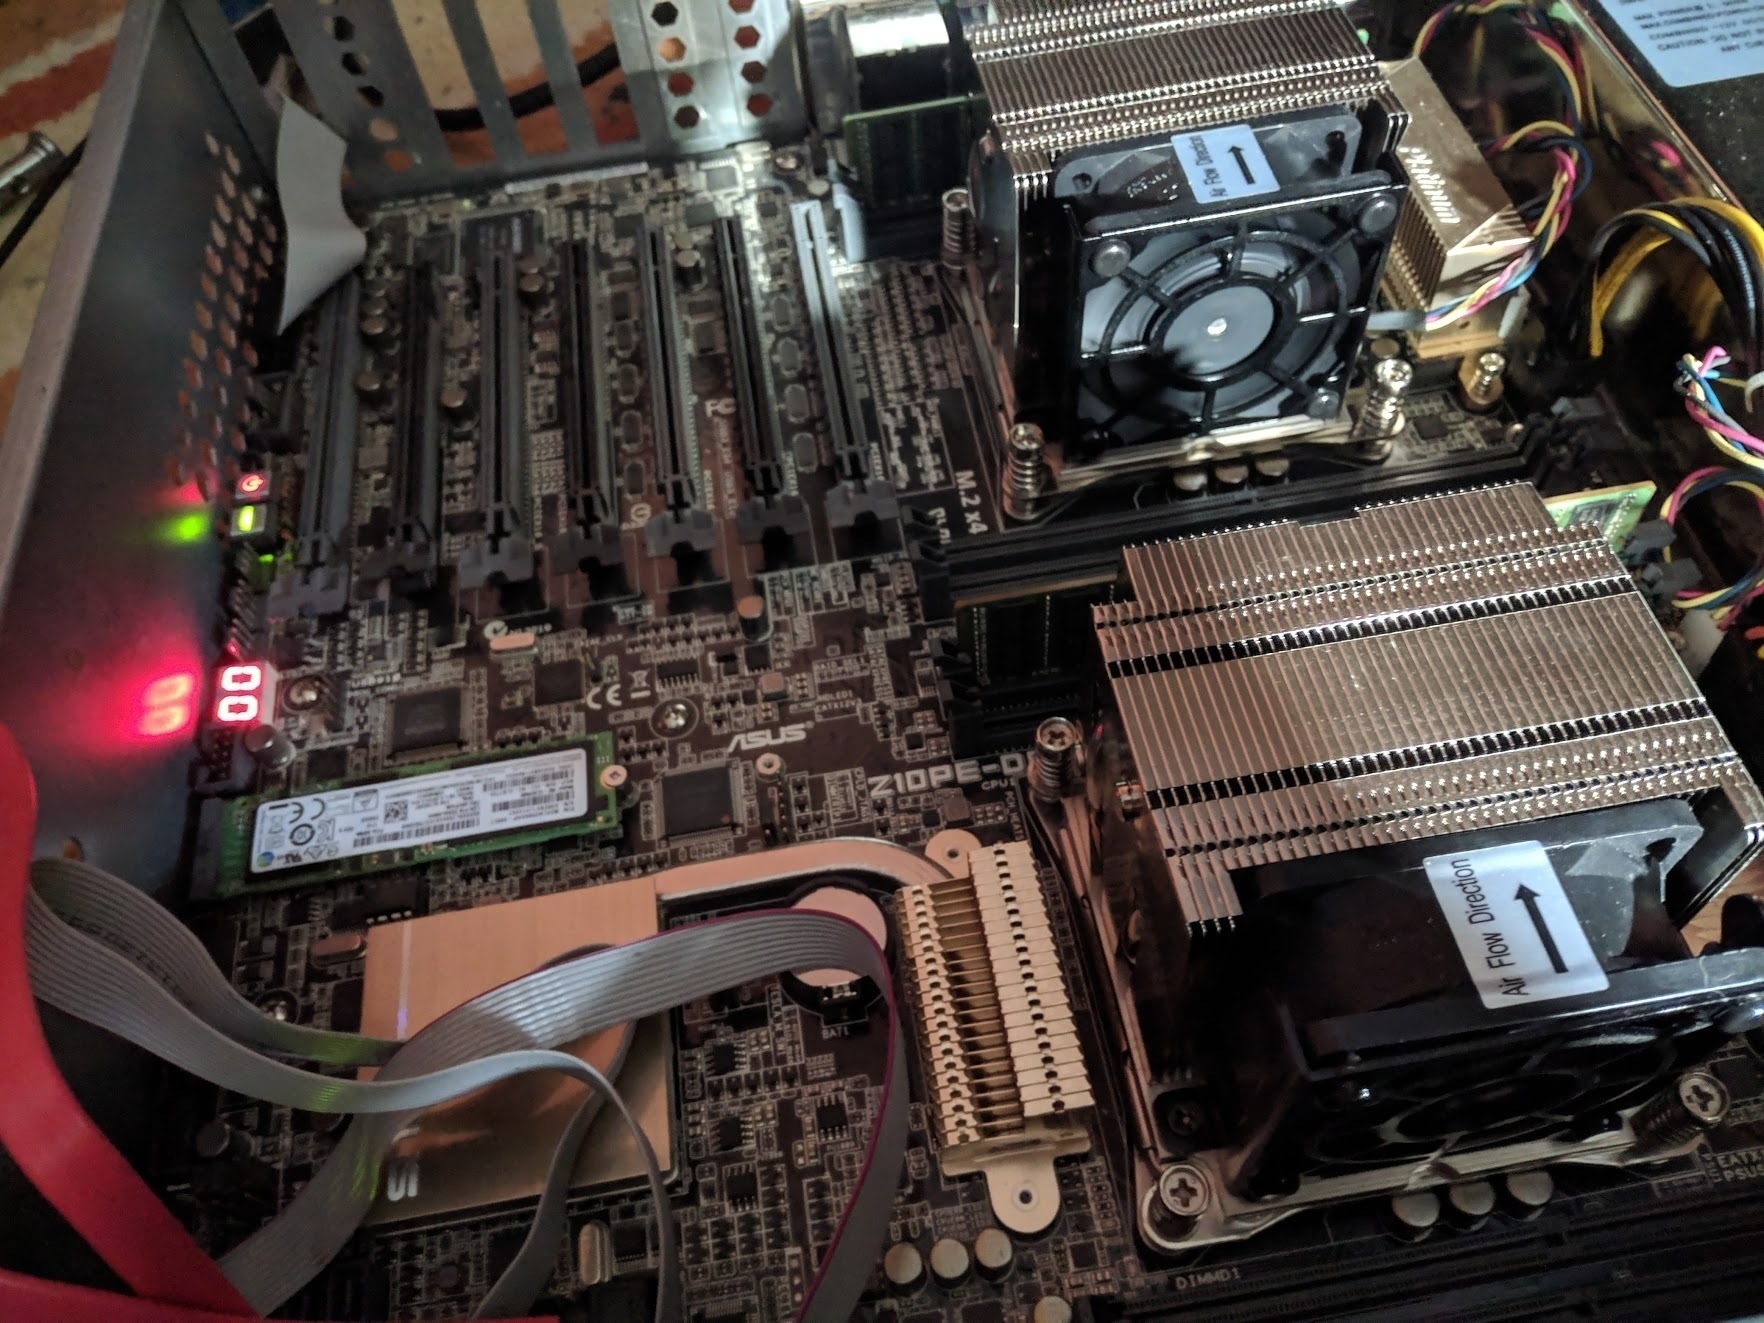
The motherboard was an extremely tight fit, as it is designed to the EEB specification, whereas this chassis was designed for a CEB motherboard. This wasn’t too much of an issue, I just put in as many standoffs as I could and also added some cork spacers underneath for extra support. It just about fit with barely a millimetre of clearance. After this, I purchased two Supermicro SMH SNK-P0048AP4 heatsinks since I needed some fans in this chassis and then closed it up!
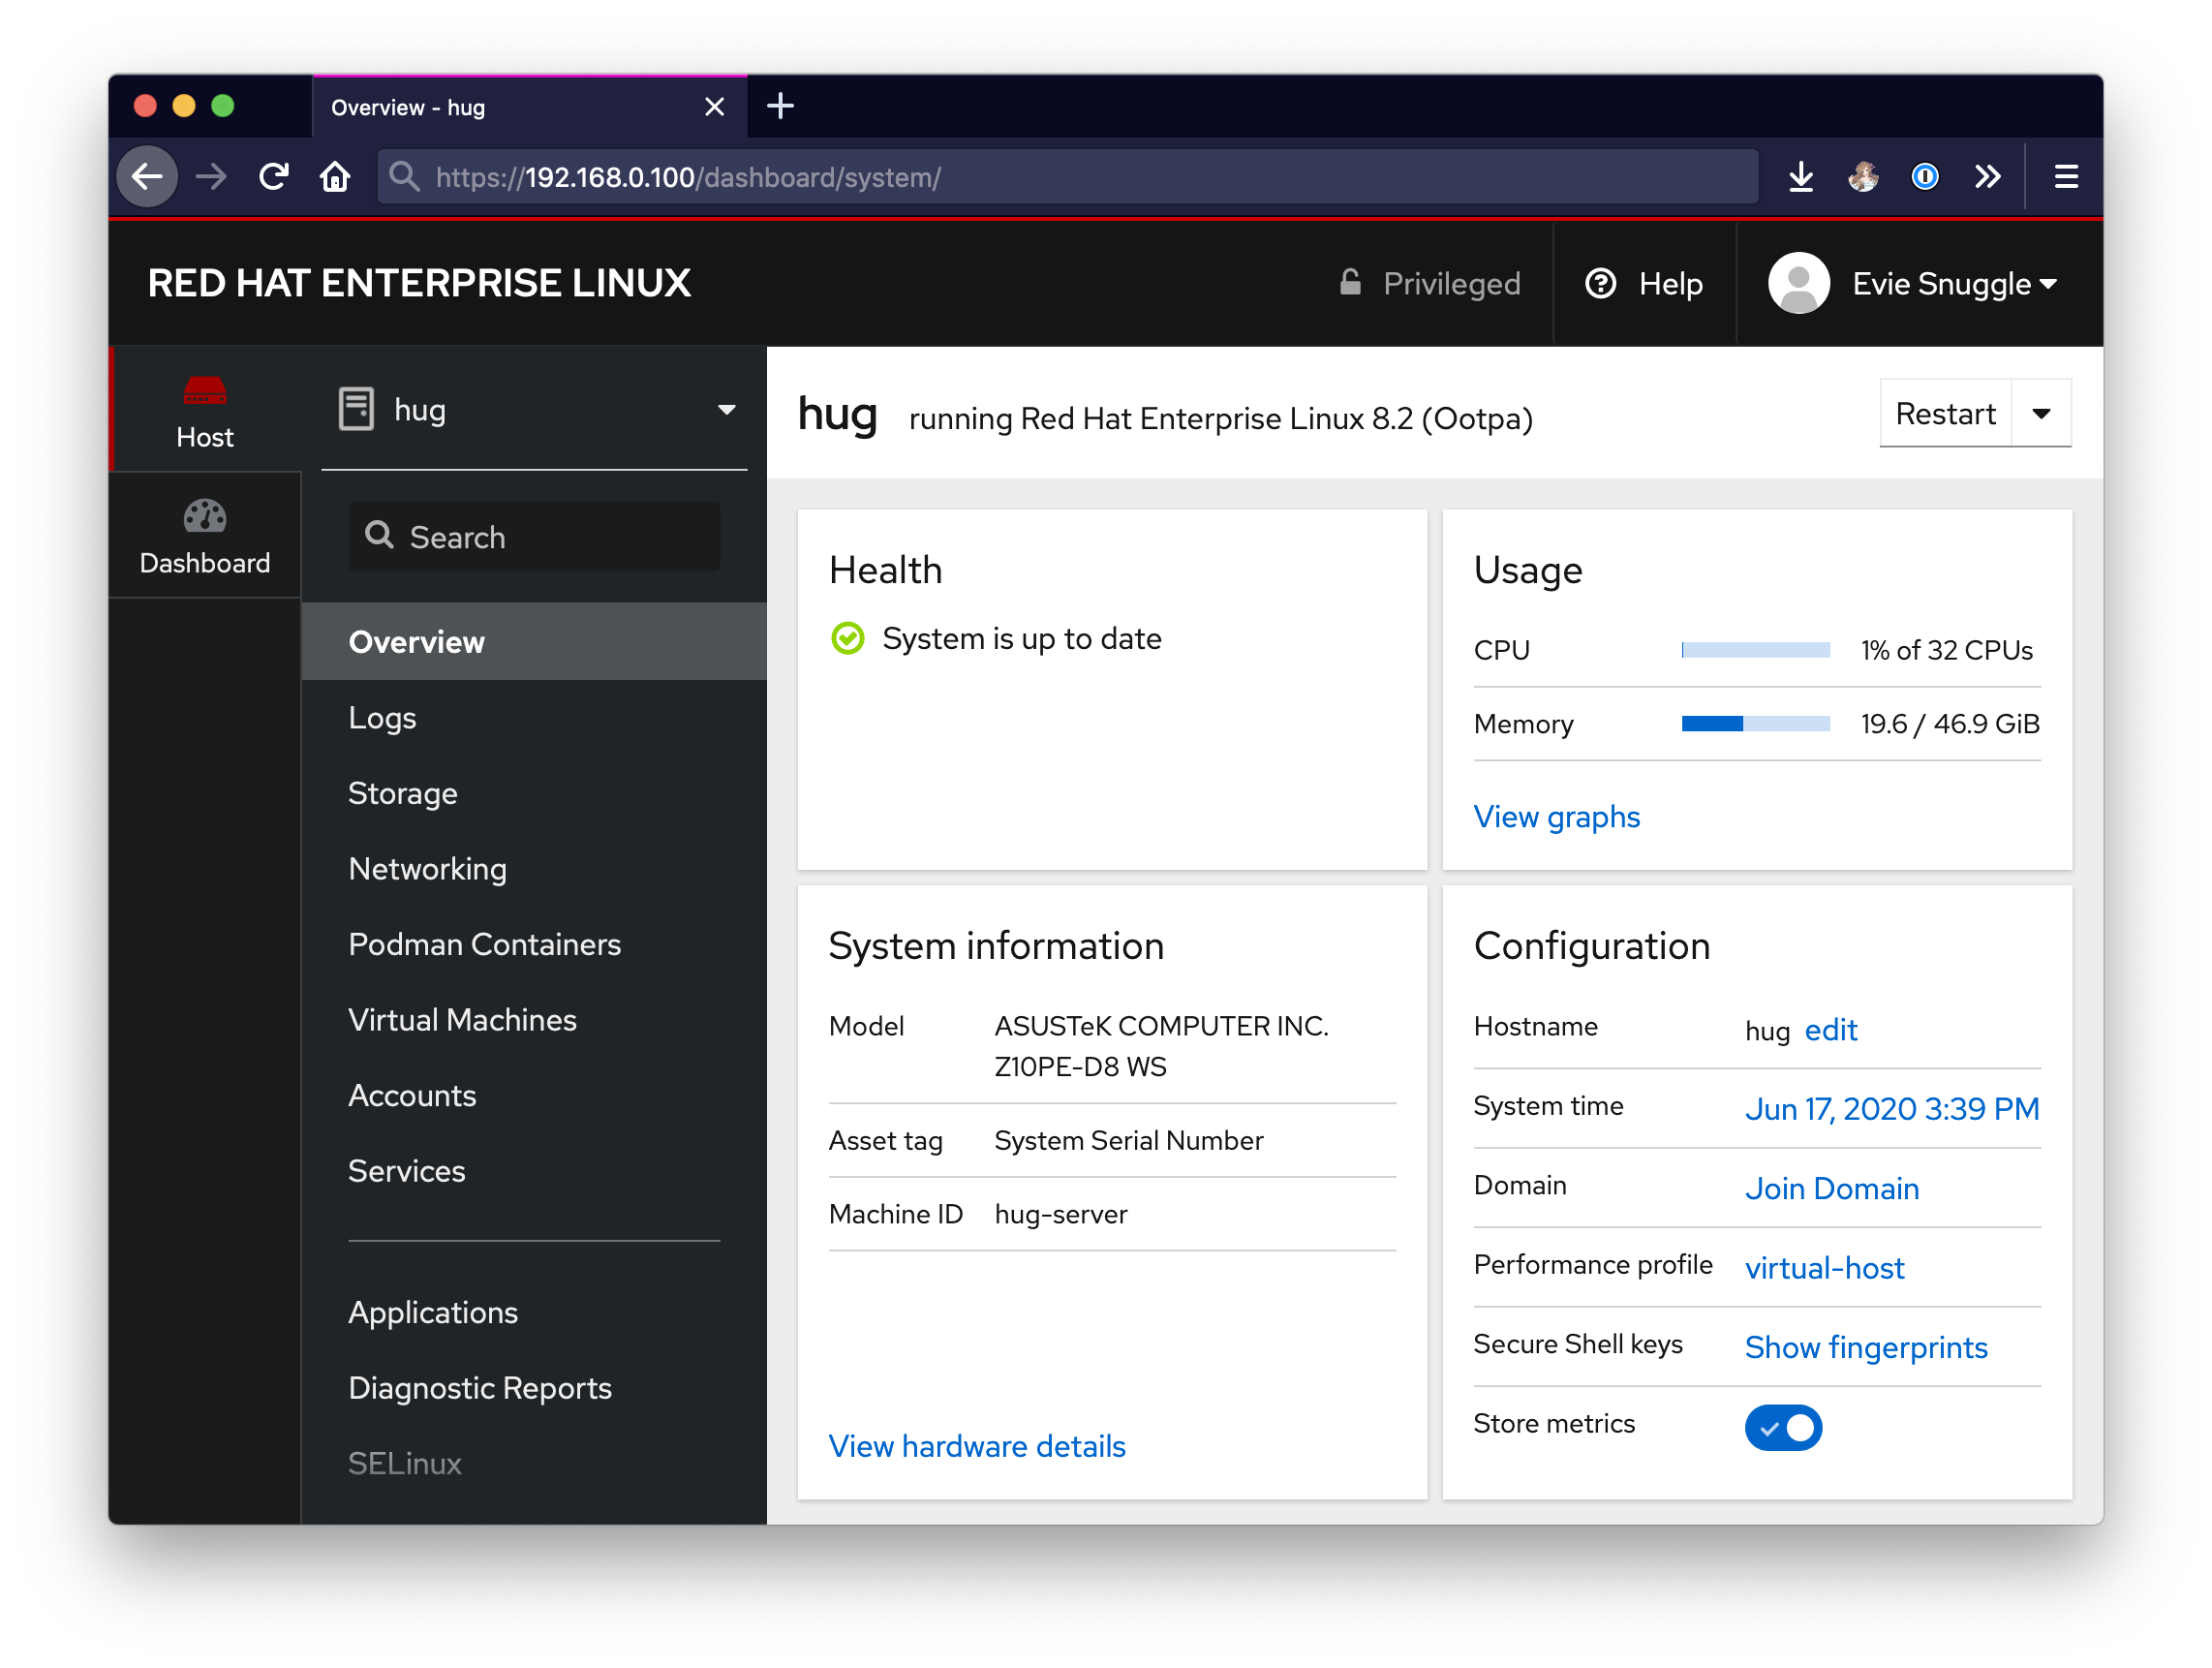
Loading up new software
For this server, I would like to be able to virtualise and/or containerize many different services. I had a few choices here! I could use something popular like Proxmox or VMWare’s ESXi, but this would be entirely for personal use and I would also like my web dashboards to look aesthetically pleasing.
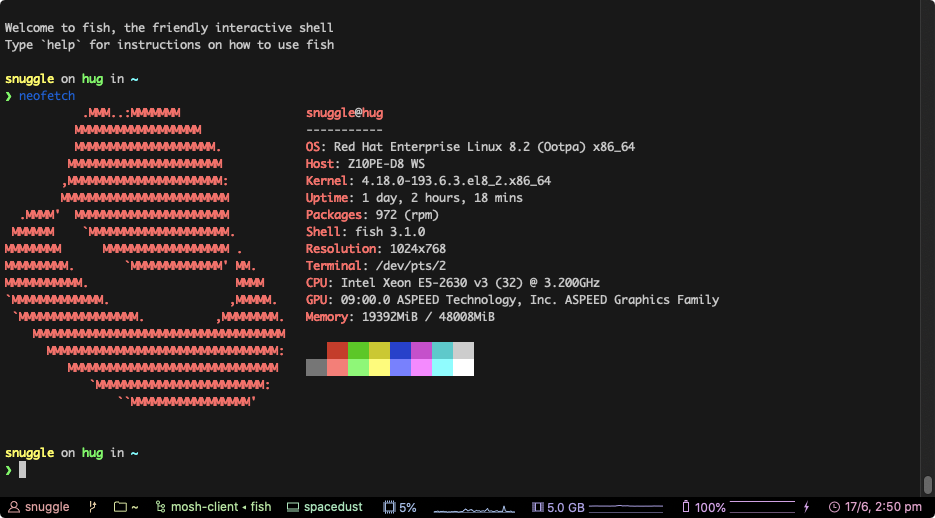
I am familiar with Fedora, as I use both Fedora and MacOS on my personal devices, and there is a web dashboard known as Cockpit which is included by default with Fedora server, but I would prefer a more stable release cycle for updates. This is why I’d chose Red Hat Enterprise Linux for my host OS and then I could use Cockpit’s QEMU/KVM module plus some command-line to manage all of my virtual machines! (Plus Cockpit’s Podman for Docker containers)